


At times, some network devices such as your Router, Netwrok Printer, Network Scanner, FAX and applications like DHCP Services require static (permanent) IP addresses. This is when we use a DHCP exclusion range, such that the DHCP server does not assign a particular IP to any of the devices automatically. This will save you from a lot of confusion. In this post, we will discuss how you can alter DHCP exclusion range configuration on Server 2012.
Here’s a step by step guide on configure DHCP exclusion range (Server 2012):
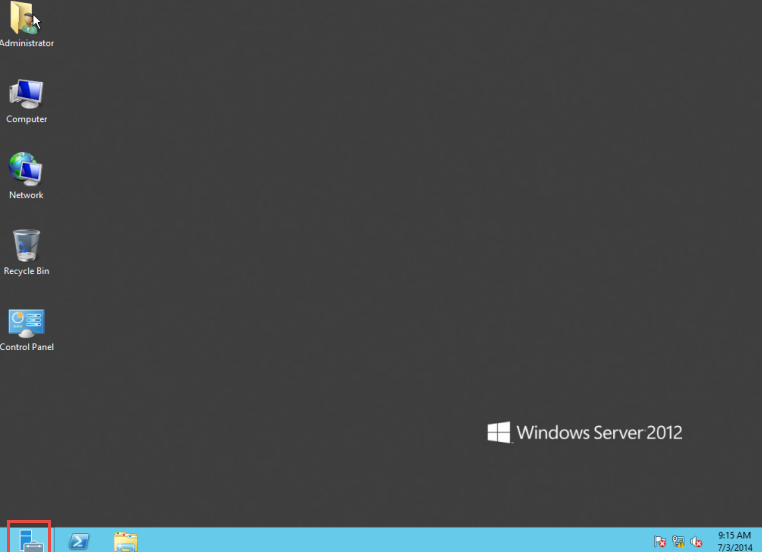
Step 1: First of all, open the Server Manager. (Check the screenshot below)
Step 2: Select the “DHCP Manager.” (Check the screenshot below)

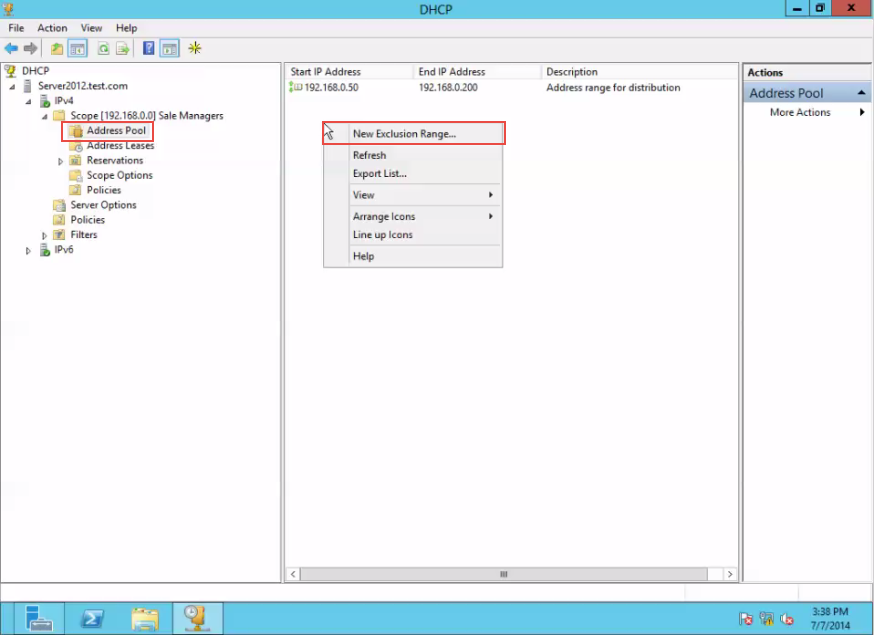
Step 3: Click on the “Address Pool” option. Next, right click on it and select the “New Exclusion Range” option from the drop down menu that appears. (Check the screenshot below)
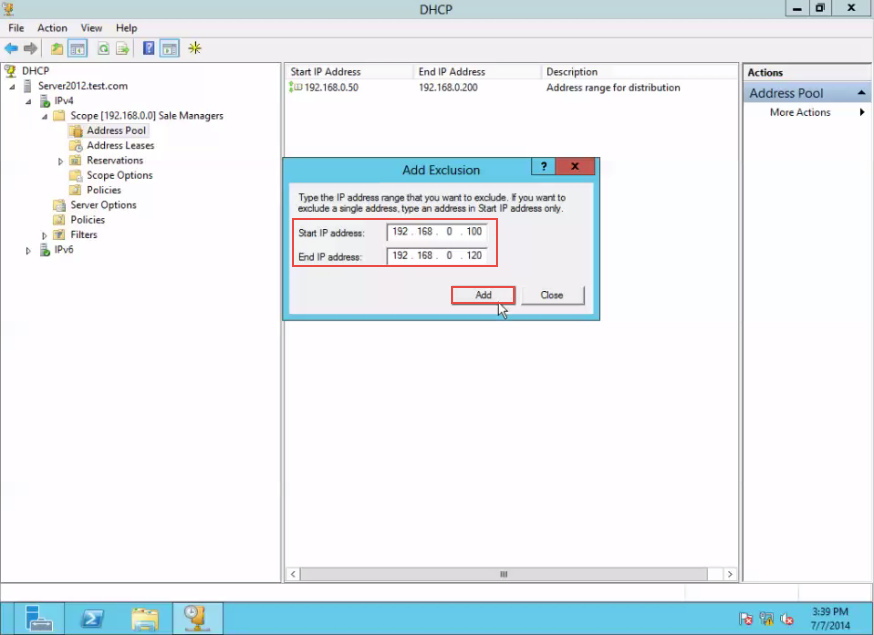
Step 4: In the “Add Exclusion” bar, enter the “End IP Address” and click on the “Add” button. (Check the screenshot below)
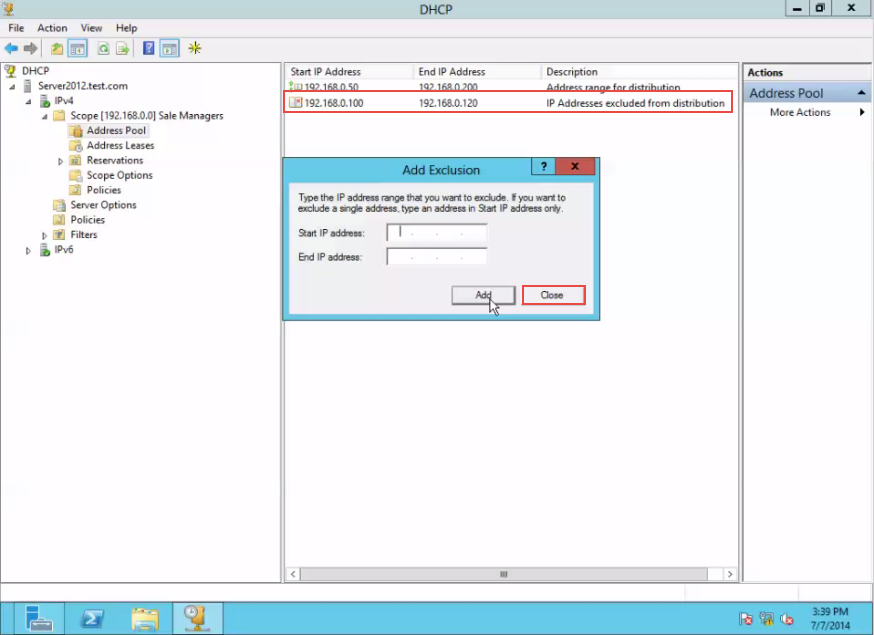
Step 5: The Exclusion Range has now been created. Click on the “Close” button to exit. (Check the screenshot below)
That was easy, no?
If your DHCP exclusion range configuration isn’t working in your case, let us know in comments. One of our senior Windows Server experts will assist you with any questions you might have a on this subject.