


In this tutorial, we will learn to use the “Tables” feature in Access 2007. Here is a step-to-step guide to the same:
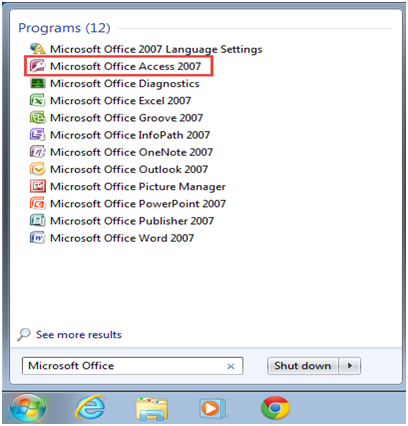
Step 1: Go to the “Start” menu and type in “Microsoft Office” in the “Search programs and files” bar.
Step 2: Click on the “Create” button. As you can see, there are various options to choose from. Pick the one that you need.
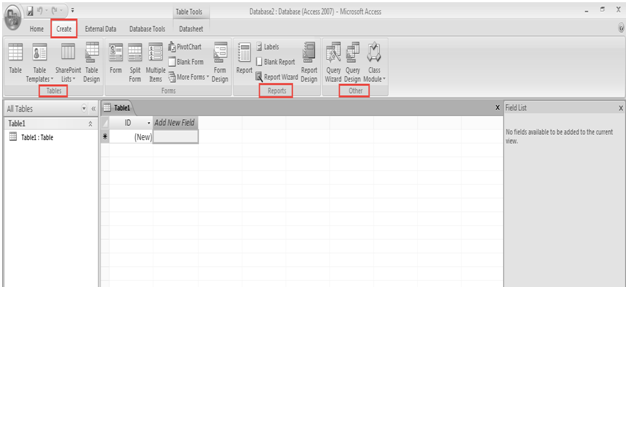
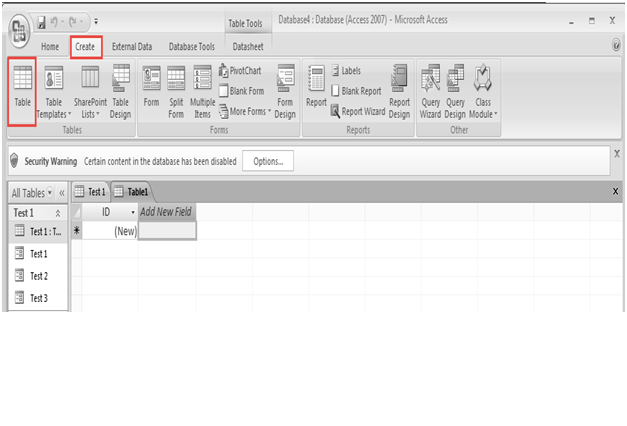
Step 3: Click on the “Create” button and go to the “Table” option.
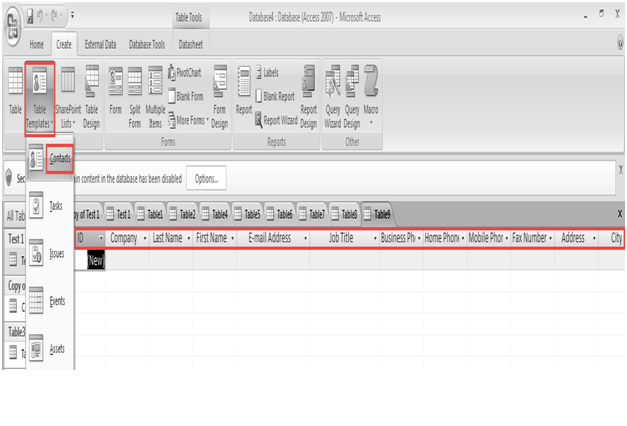
Step 4: Go to the “Create” tab and click on the “Table Templates” button.
Step 5: Now, you can add data using different templates. (Check the screenshot below.)
Step 6: Save the data after you’ve added it.
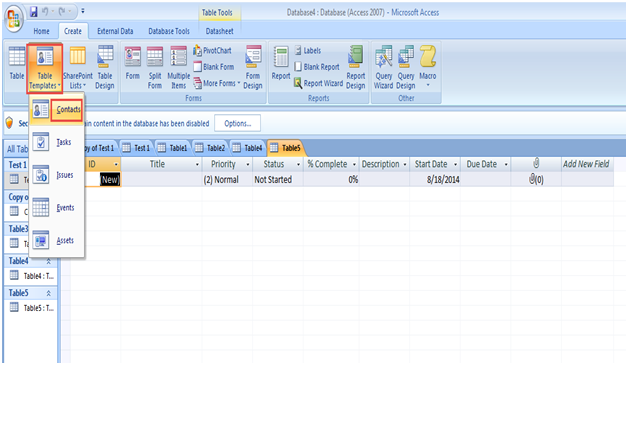
Step 7: When you click on the Contacts Template, you’ll see multiple contact options – Email address, Username, phone numbers, and other user-related contact details.
Step 8: Go to the “Create” tab and click on the “Table Template.” Now, click on the “Tasks” option.
All the options that cover the task details are shown in the screenshot below.

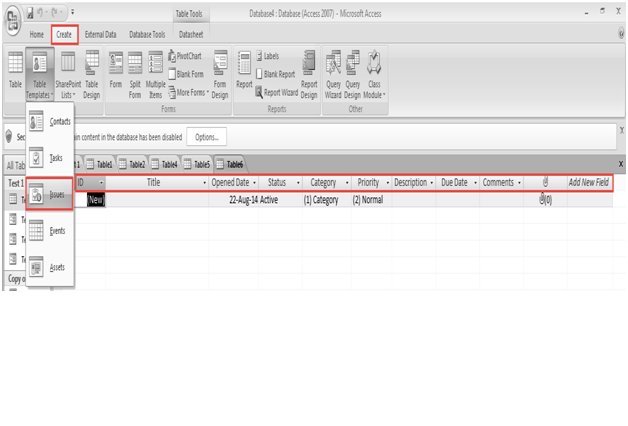
Step 9: Go to the “Create” tab and click on “Table Template.” Now, go to the “Issues” option.
This option will show both the ‘Start Date’ and ‘End Date’ of the task.
Step 10: Go to the “Create” tab and click on the “Events” option in the Table Templates.
Here, you can add all the event-related details as required. (Check the screenshot below)

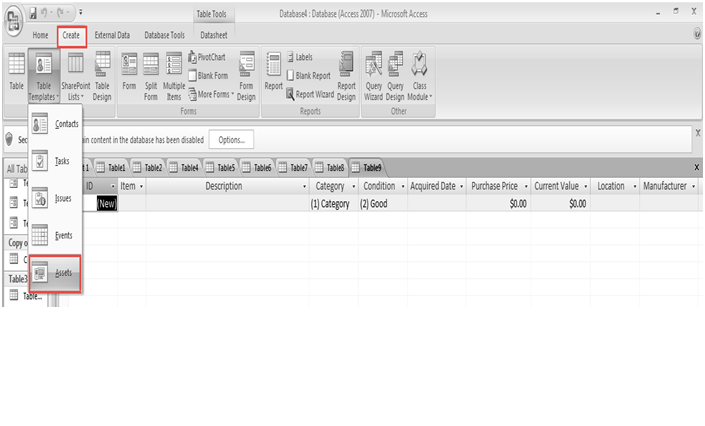
Step 11: Go to the “Create” tab and click on the “Assets” option in the Table Templates.
This option will allow you to add all the details of the Assets, from purchase date and location to sailing date and condition. (Check the screenshot below.)
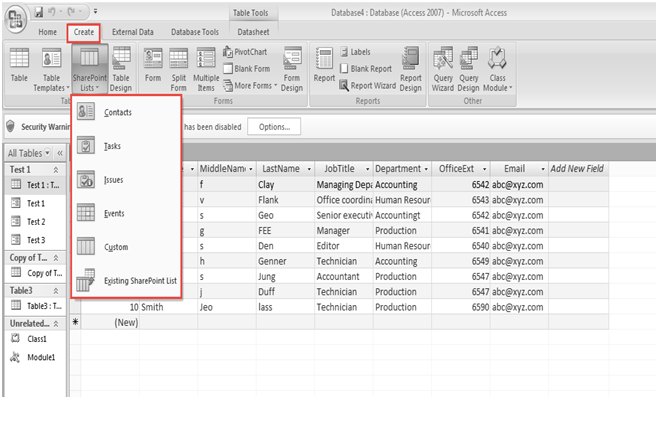
Step 12: Go to the “Create” tab and click on the “Share point view” option.
Here, you will see some sub-options as displayed in the screenshot below.
- If you want to manage information related to your business partners, colleagues, or customer, this option will help create a“Contacts” list. You can also share information among your contacts.
- This option also creates a “Tasks” list when user wants to keep track of a specific group of work items.
- You can also create an “Issue” list if you want to manage a set of problems. Users can also prioritize, assign, and track the progress of problems from the beginning to end.
- Another option is to create an “Event” list for a calendar-based view of upcoming events, meetings, or deadlines. You can spread information throughout the list.
- And if you want to specify columns, you can create a “Custom” list.
- You can also choose data source and destination, as well as specify a SharePoint site.
Step 13: Go to the “Create” tab and click on the “Table Design” option to change the view of the content. (Check the screenshot below)

Got any questions?
Let us know your doubts in the comment section below, and get answers from our Access 2007 experts.