


A User Group can be defined as a “set of user accounts” having similar security rights. At times, these user groups are also referred to as security groups. Creating users and groups in Windows 8 is pretty easy but before we demonstrate how to do that, let’s go through some basics first.
You can learn more about MCSE certification and training here.
A user account can be a member of more than one group at a given time.
Amongst the many user groups, two most common types of user groups include
- Administrator Group
- Standard User Group
A user account is generally referred to by the user group it is in. However, in case you have an administrative account, you have full freedom to create custom user groups, add or move accounts from different groups and also move user accounts from one group to another.
If you want to create users and groups in Windows 8, simply Login with Administrative rights and follow the steps mentioned below:
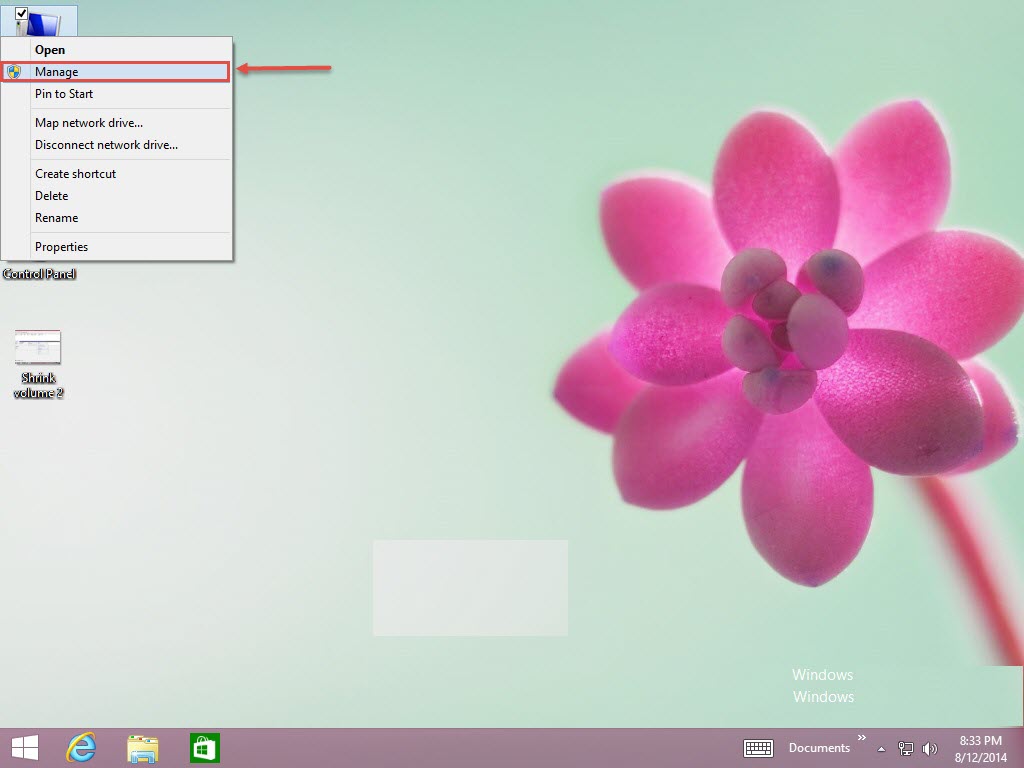
Step 1: Right click on the “My Computer” icon on your Desktop and click on the “Manage” tab. (Check the screenshot below)
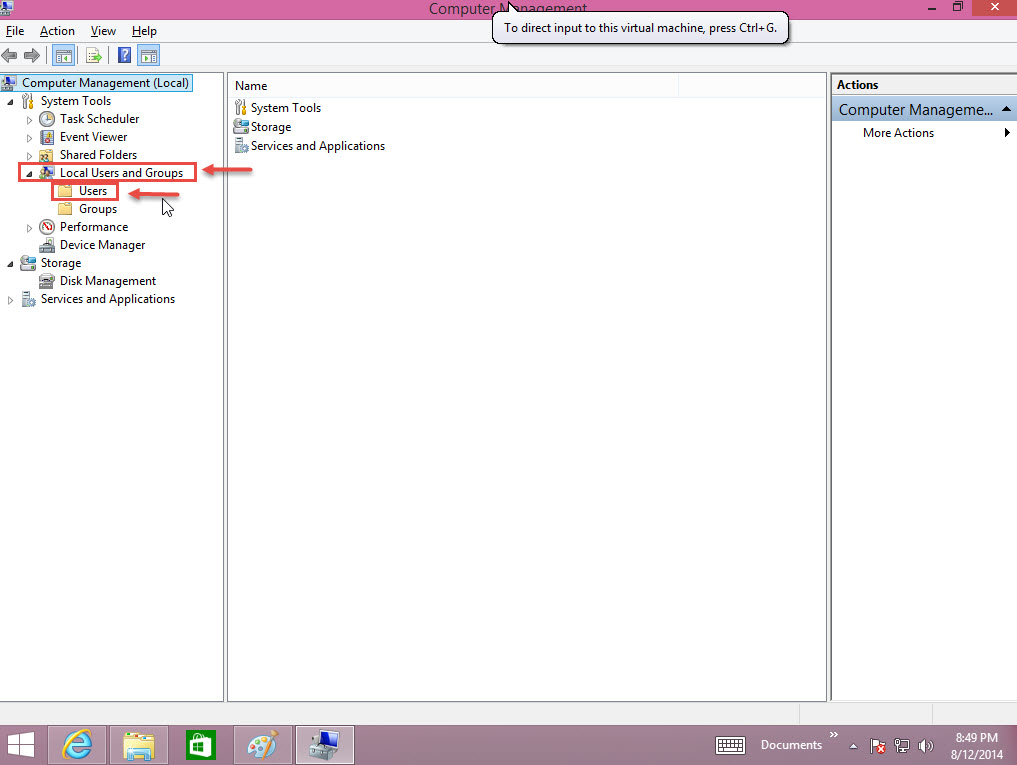
Step 2: The computer management console will open.
Step 3: Amongst the many options appearing on the left-side panel of the window, click on “Local User and Groups.”
Step 4: Under the “Local User and Groups”, click on “Users”. (Check the screenshot below)
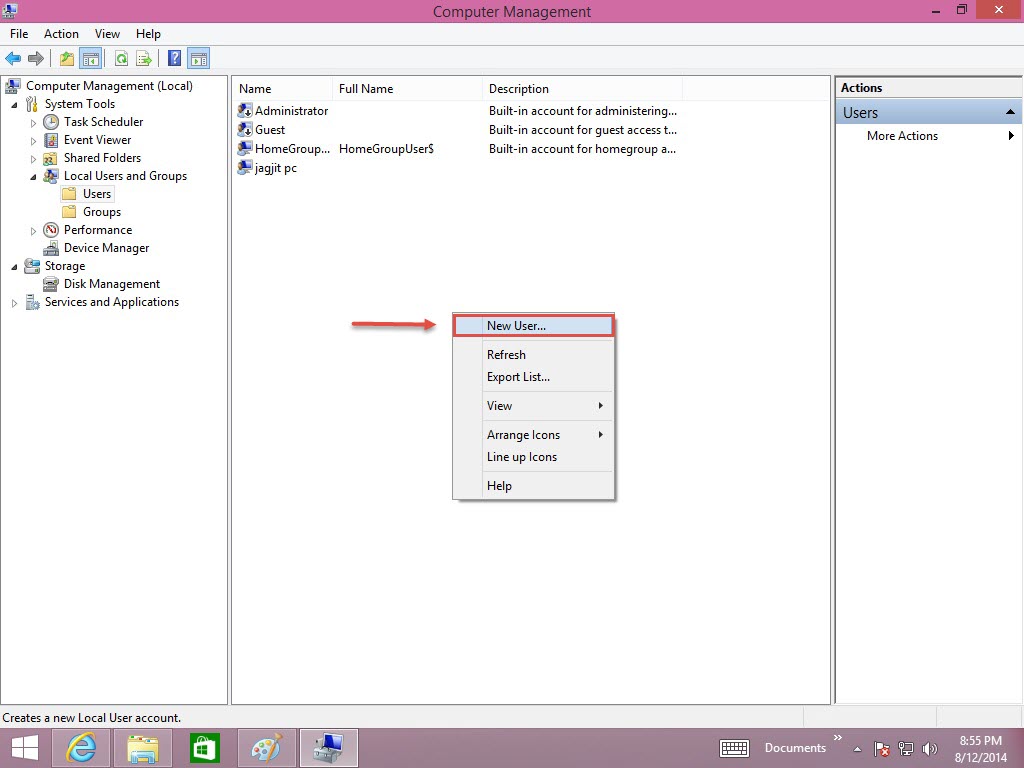
Step 5: Simply right click on the blank space and click on “New User…” tab. (Check the screenshot below)
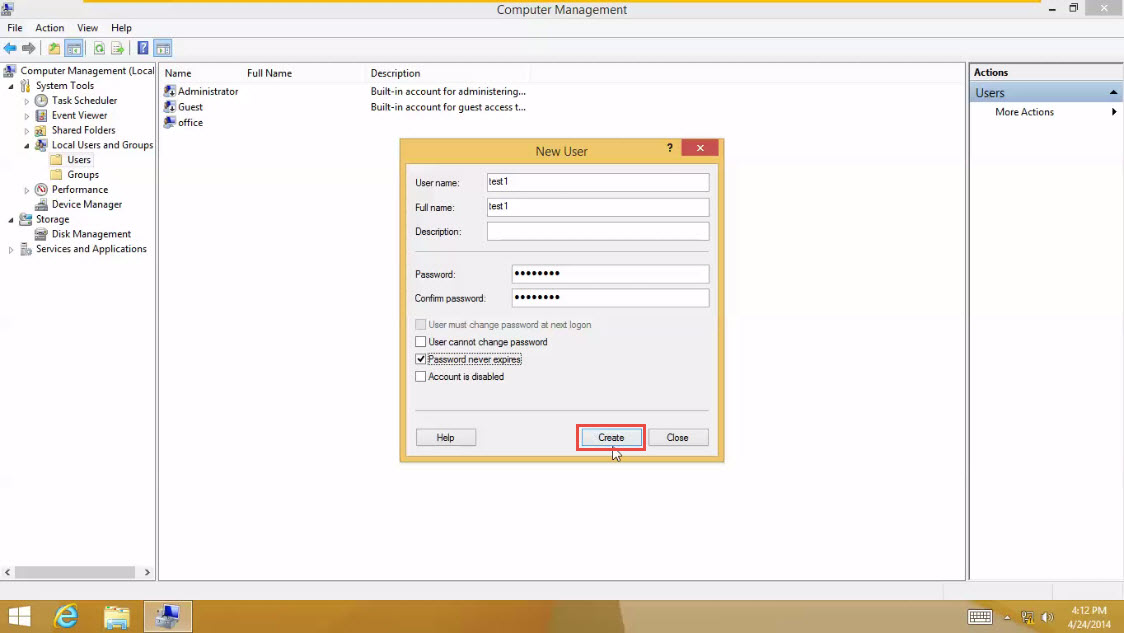
Step 6: A New User window opens up; here, you are required to type in the User Name and Password to proceed and make changes including creation of user and group in Windows 8 operating system. (Check the screenshot below)
Step 7: Click on the “Create” button to save the new settings. (Check the screenshot below)
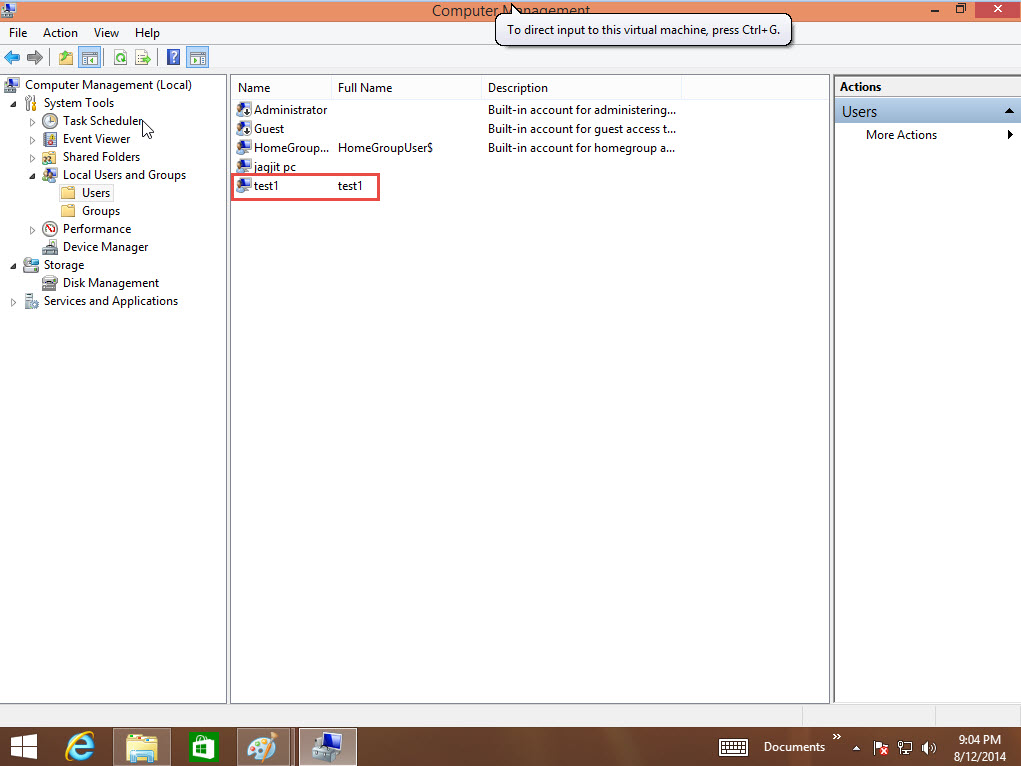
Step 8: New User has now been created successfully. Well done! (Check the screenshot below)
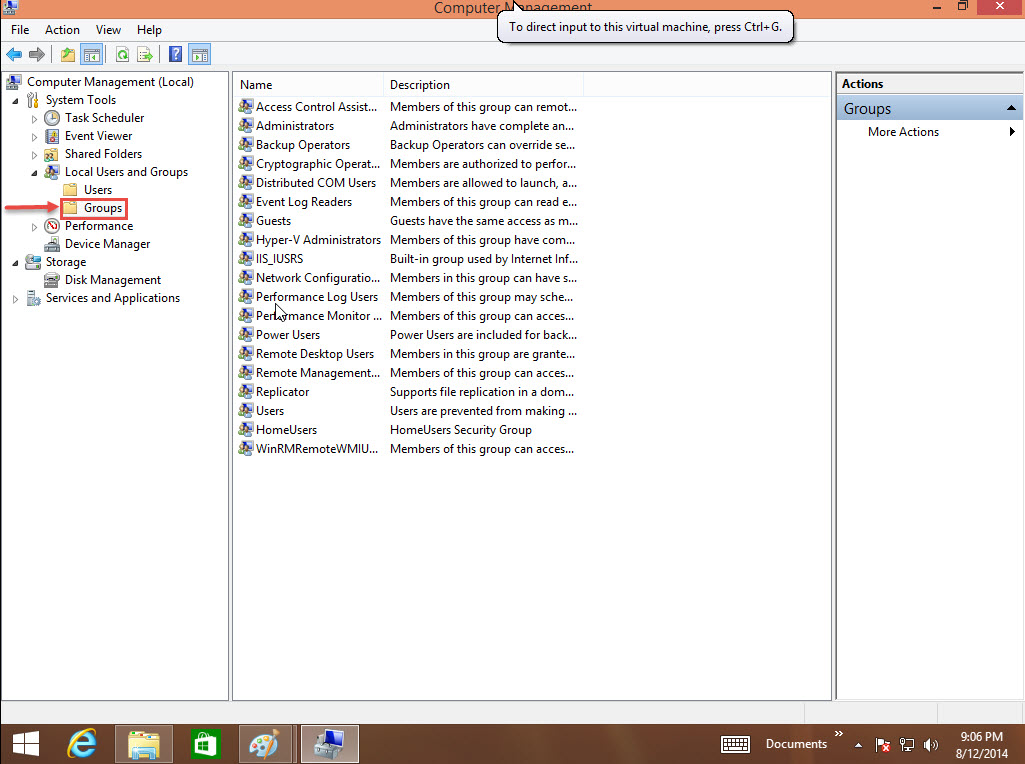
Step 9: Now, to create a new group, simply click on “Groups” option under “Local User and Groups”. (Check the screenshot below)
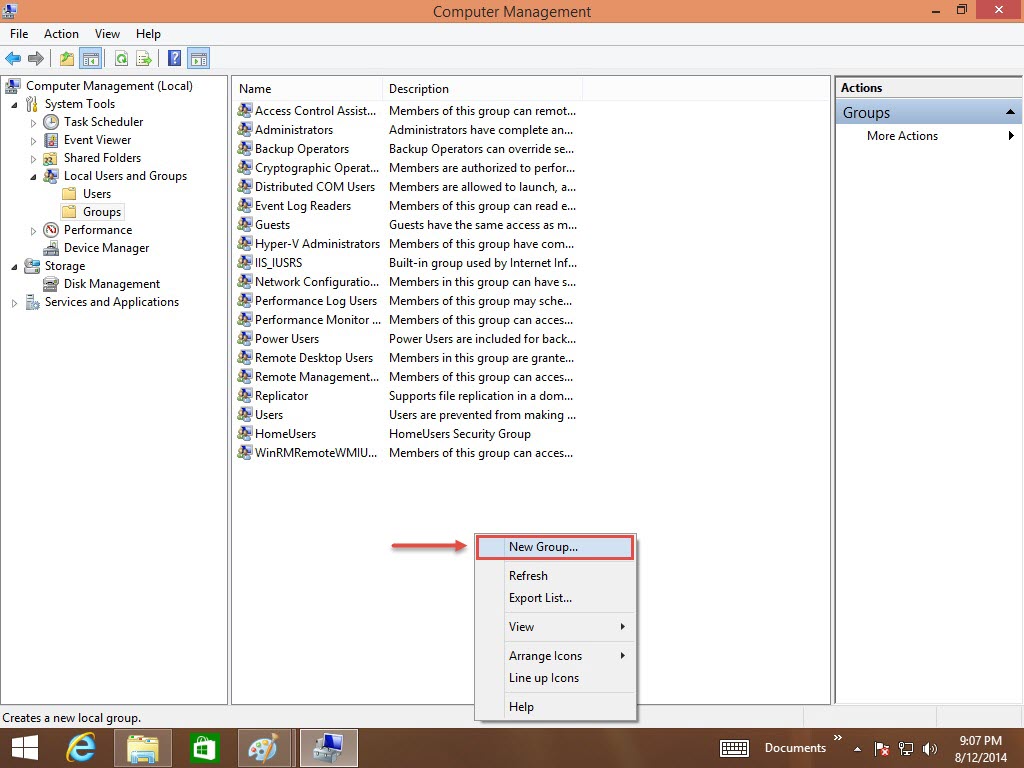
Step 10: Right click on the blank space of the screen and click on “New Group” (Check the screenshot below) to create a new group in Windows 8.
Step 11: A New Group window will appear on your screen; you are required to enter the desired group name you want for your Windows 8.
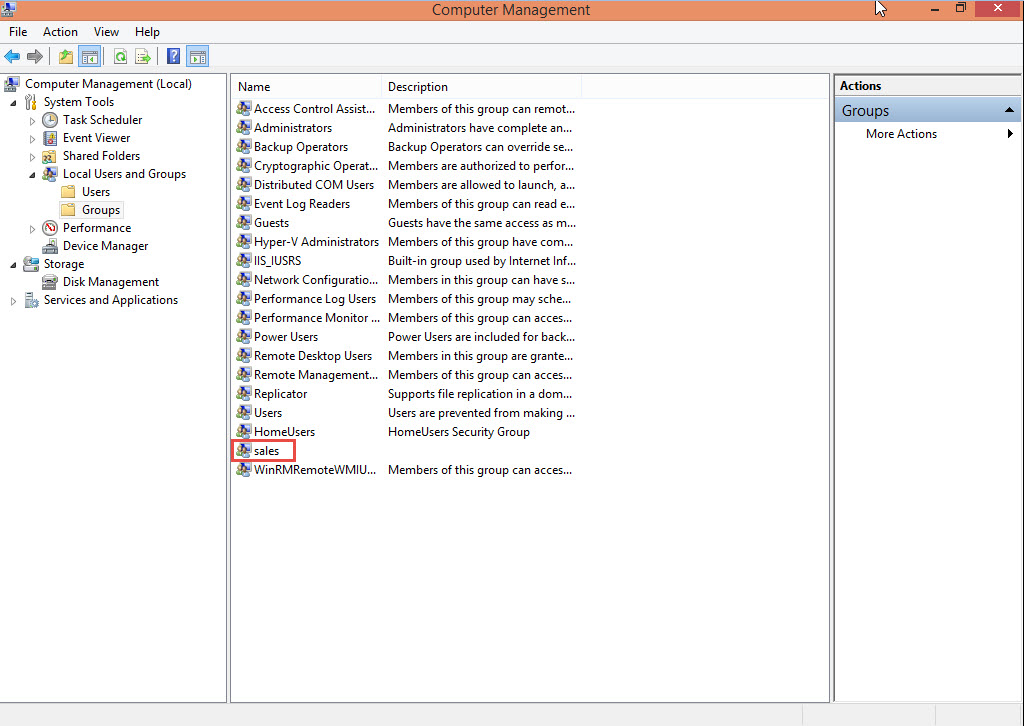
Step 12: As soon as you feed in the group name, click on the “Create” button to save the changes made. (Check the screenshot below)

There, you’ve successfully created a new group in Windows 8! (Check the screenshot below)
Interested in A+ Certification training? CompTIA Training instructor led hands-on training classes.
If you are unable to follow the steps on how to create users/groups in Windows 8 outlined above, please don’t hesitate to ask for assistance! Drop a comment below and we will be glad to help you with any questions or doubts you may have about users or groups in Windows 8 Operating System.