


Windows 8 comes preloaded with a simple yet highly secure “file or folder sharing feature” which allows users to share files/ folders with other users on a public network, as well as Work network groups and Home groups. In this quick tutorial, we will explain how you can use folder sharing facility in Windows 8.
Similar to the previous versions of Windows, including Windows Vistas and Windows 7, you can very easily establish connection with all computer systems running on Windows 8, and effectively transfer data files without having to manually set IP addresses.
As Windows 8 File Sharing Feature is an advanced version of Windows 7 File Sharing system, it therefore comprises of additional file sharing constraints to secure shared files from external attacks.
Follow the steps mentioned below to learn how to share folders in Windows 8 Operating System:
Step 1: Right click on the folder that you want to share and click on the “Properties” option. (Check the screenshot below)

Step 2: The “Properties” dialog box will now open on your screen. Click on the “Sharing” option. (Check the screenshot below)
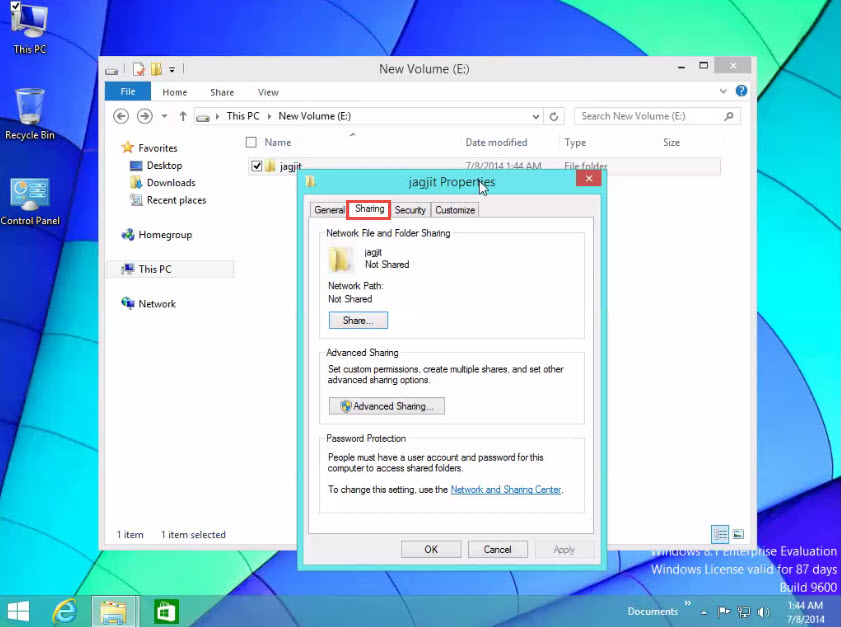
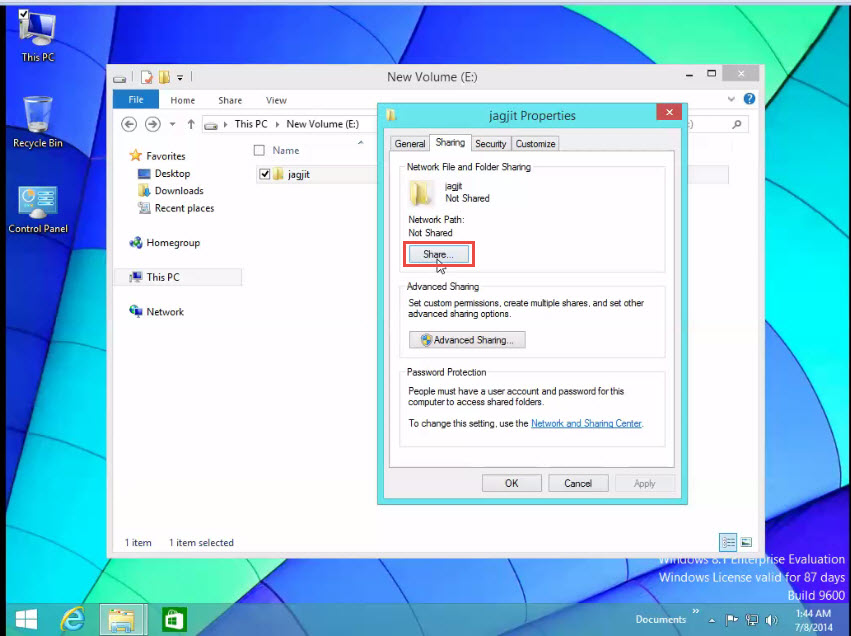
Step 3: Next, click on the “Share” tab. (Check the screenshot below)
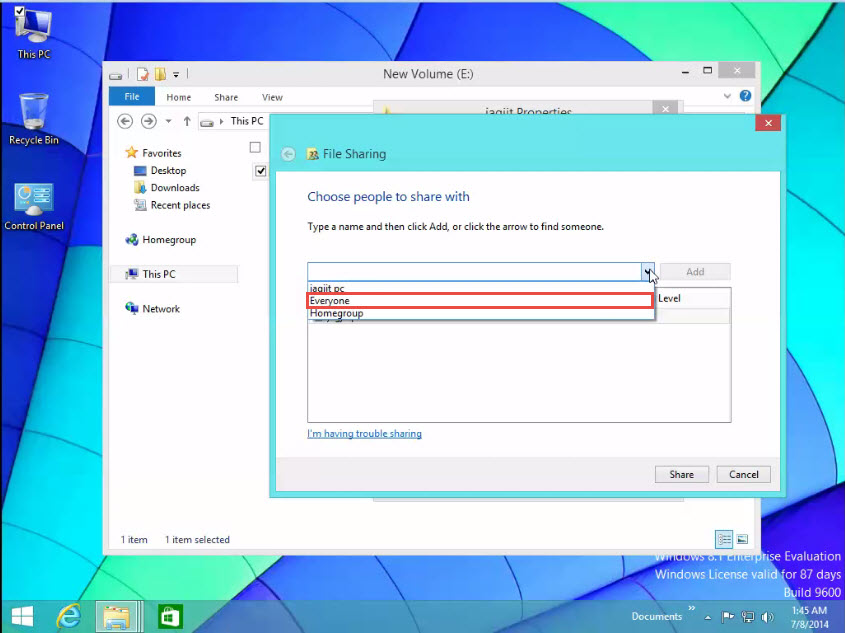
Step 4: A “file Sharing” dialogue box will now load on your screen. Click on the arrow mark and select “Everyone” to share the folder with everyone. (Check the screenshot below)
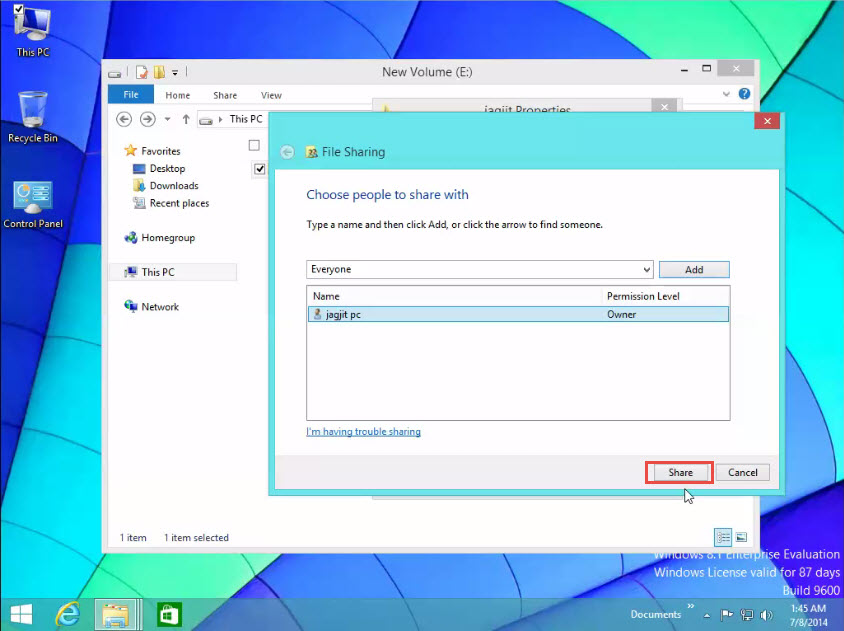
Step 5: Now, click the “Share” button. (Check the screenshot below)
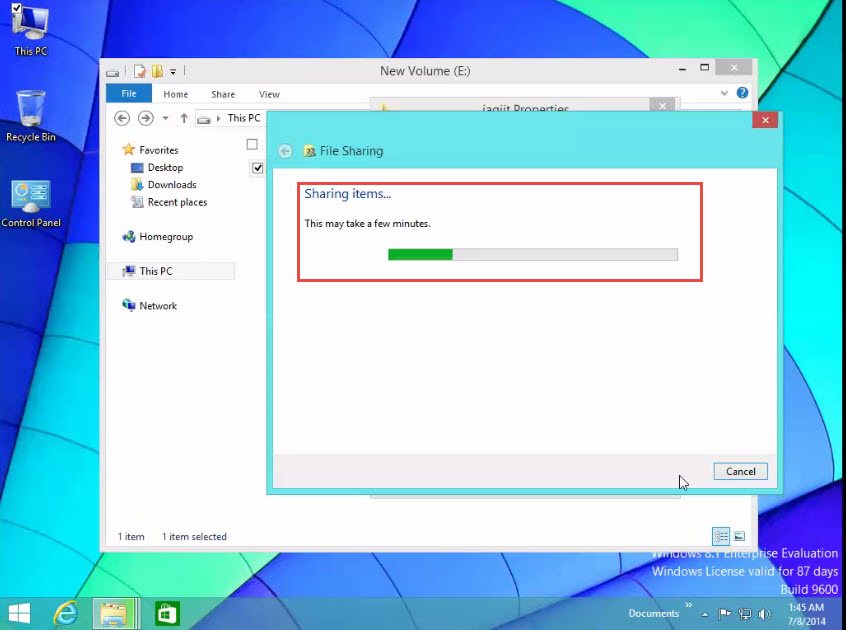
Step 6: Folder sharing request will now be processed by Windows 8 OS. It takes time according to amount and type of data stored in the folder. (Check the screenshot below)
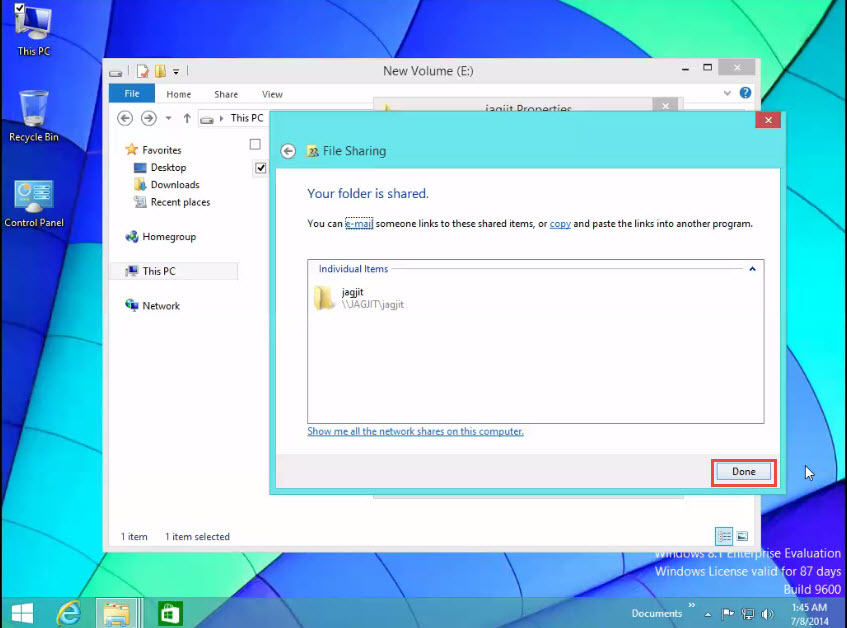
Step 7: Click on the “Done” tab when the processing is complete. Now, as you can see, the folder has been successfully shared with everyone on the network. (Check the screenshot below)
Did it Work?
We hope it did. The process is fairly simple.
But if didn’t, don’t worry. We are here to help you with any problems you might be facing while sharing a folder in Windows 8.
Write a comment below and we will get back to you with a solution.