


Windows 8 Operating System comprises of an excellent “Disk Management Tool” which can effectively meet most of your day to day disk management needs such as those pertaining to partitioning, formatting and merging, etc. In this post, we will explain (with detailed steps and screenshots) how you can create a new volume drive in Win 8 by using the Disk Management Tool.
First things first, to create a partition using Disk Management, you must be logged in as a system administrator. Also, there should be sufficient unallocated disk space or free space within the extended partition on the hard disk.
In case you don’t have sufficient unallocated disk space available, you can just create some free space by shrinking a partition (an existing one). To do that, you can use a third-party program or just delete the partition.
Follow the steps mentioned below to learn how to create a new volume drive in Windows 8 with Disk Management:
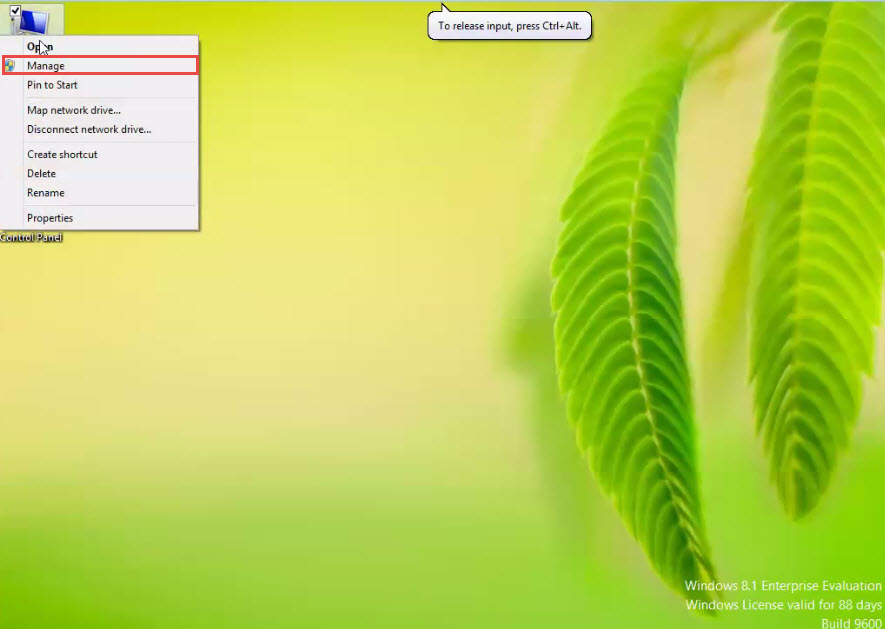
Step 1: To get started, right-click on the “My Computer” icon on your desktop and next, click on the “Manage” option in the dropdown menu. (Check the screenshot below)
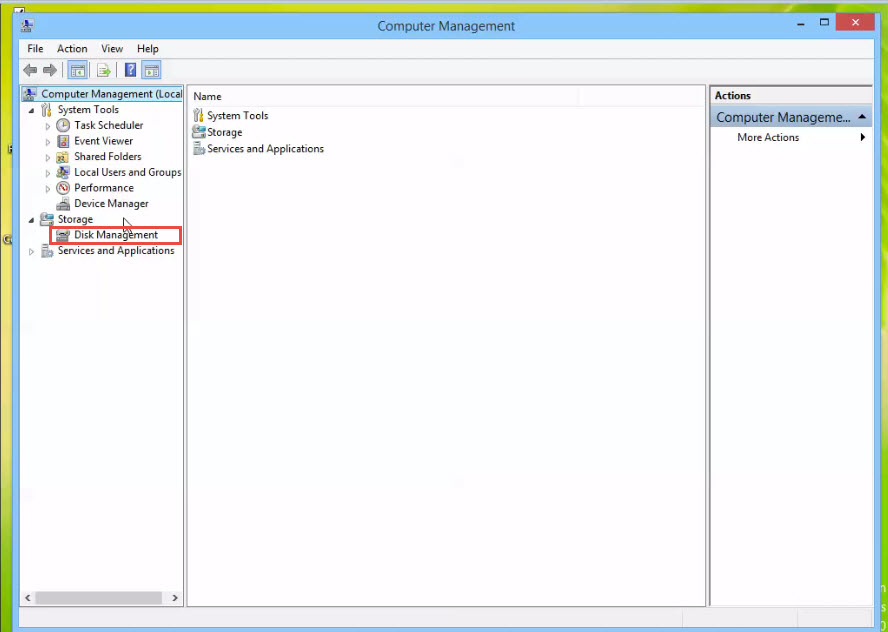
Step 2: The “Management Console” window will now open on your screen. Click on the “Disk-Management” option present on the left side panel of the screen. (Check the screenshot below)
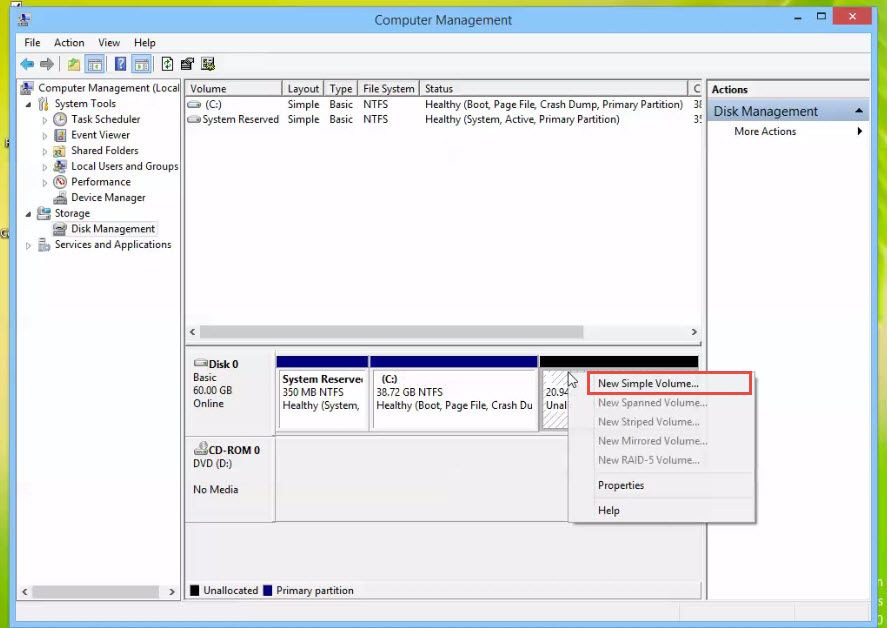
Step 3: Right-click on the “Unallocated Space” option and next, click on the “New Simple Volume” option in the dropdown menu. (Check the screenshot below)
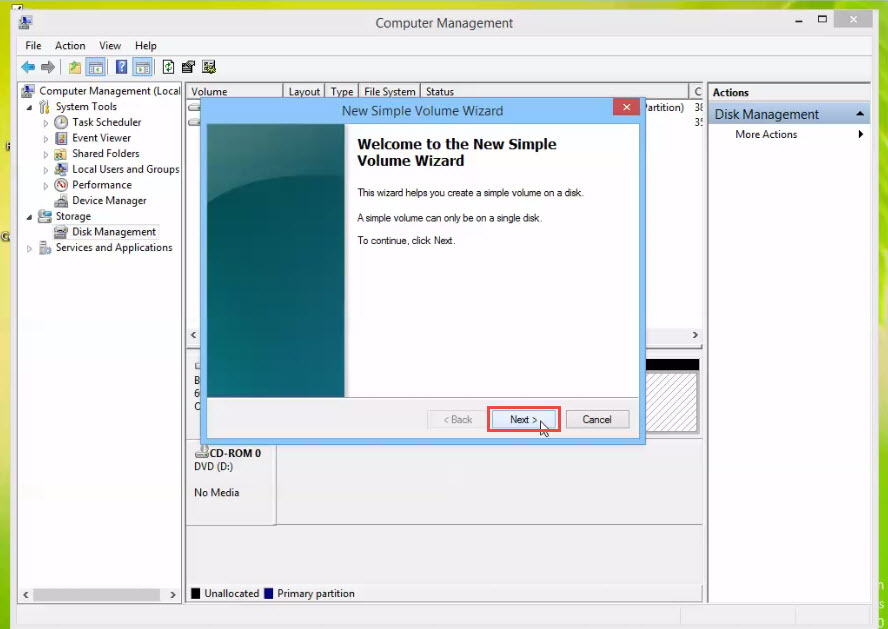
Step 4: A new dialog box will now appear on your screen. Click on the “Next” button to continue. (Check the screenshot below)
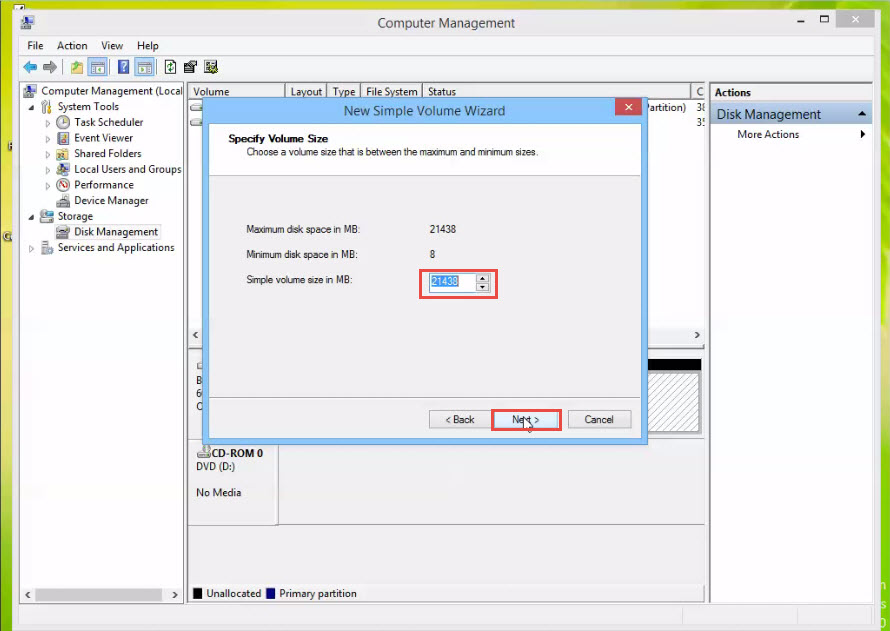
Step 5: Mention the size of the drive and click on the “Next” button. (Check the screenshot below)
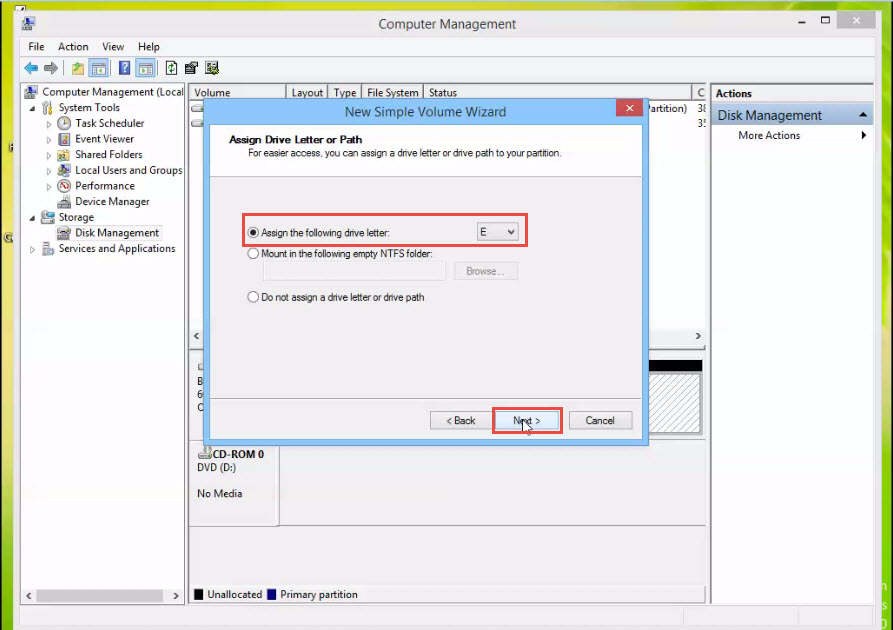
Step 6: Assign a “Drive Letter” and click on the “Next” button to continue. (Check the screenshot below)
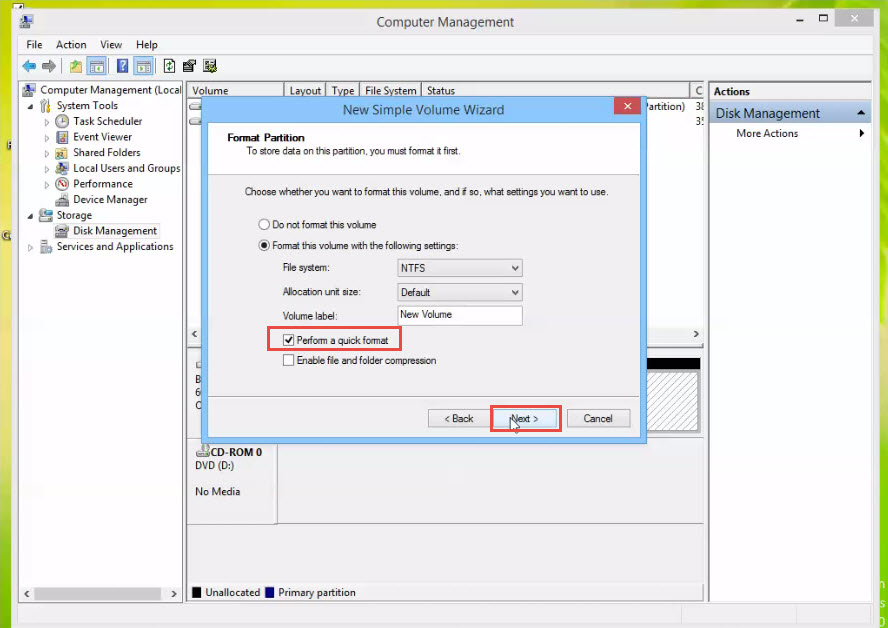
Step 7: Select the “File System” and tick on “Perform a Quick Format”.
Step 8: Click on the “Next” button to continue. (Check the screenshot below)
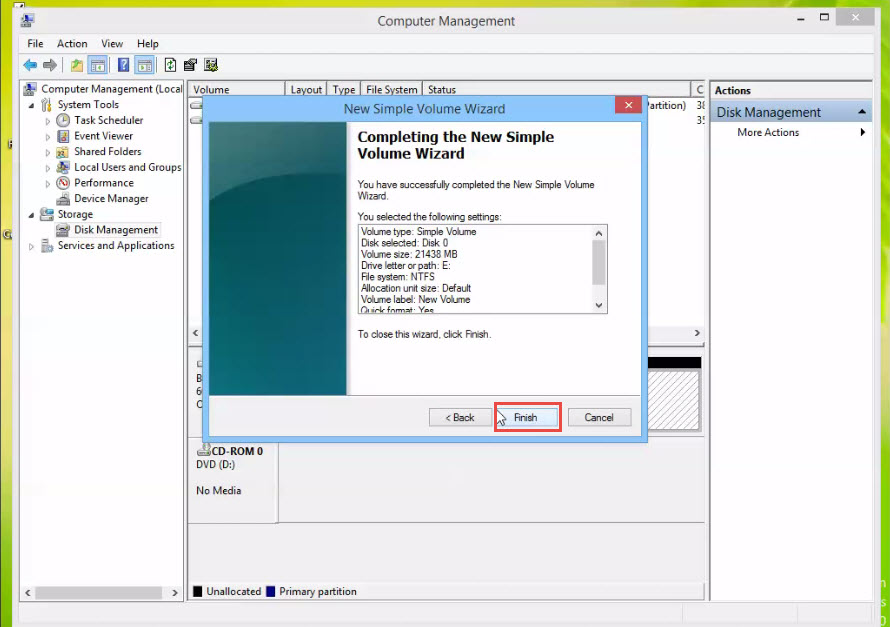
Step 9: Click on the “Finish” tab. (Check the screenshot below)
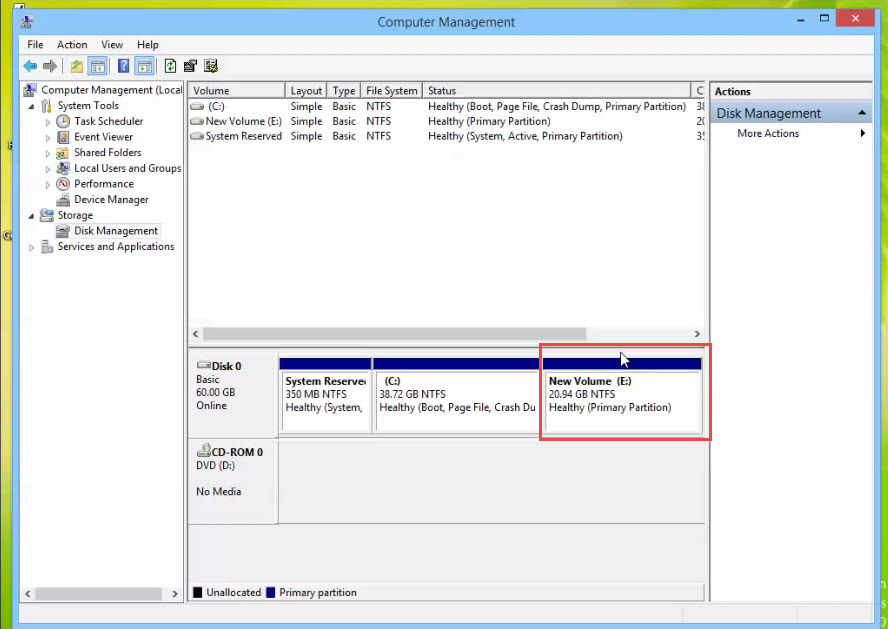
Step10: A new volume drive has just been created. Great! (Check the screenshot below)
Step 11: You can also check it by opening “My Computer”. (Check the screenshot below)
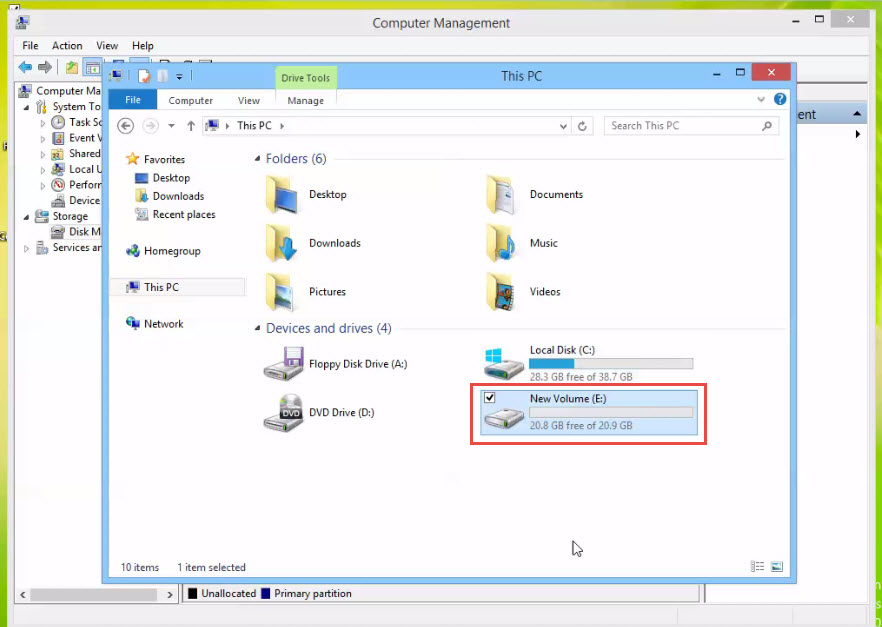
Yes, it’s there!
Were you able to create a new disk volume in Windows 8 by following above tutorial?
If not, we’d like to know why and help you with any problems you might be facing! Let us know by dropping a comment below.
We’ve got your back. You just have to ask.