


Windows 7 Computers on a network require unique names so that they can identify and communicate with each other. In case, two computers on the same network share the same name, it will result in a conflict for network communications.
Most computers running Microsoft Windows 7 are supplied with a default name but you generally have the option to change them.
Make sure you prefer a short (preferably less than fifteen characters) and easily recognizable name for your Windows 7 PC.
In case you bought a new Windows 7 computer with pre-installed Operating System, it’s likely that you will be annoyed by the “default name of the computer” when you try to connect to different computers.
Moreover, giving a personal name to a computer – “john computer,” for example – makes it much easier for everyone to identify it on the network.
We recommend that you prefer using only Internet-standard characters while changing your computer’s name.
The standard set of characters typically comprises of upper and lower case letters from A to Z, numbers from 0 to 9 along with the following characters < > ; : ” * + = \ | ? ,
Check out our instructor-led classroom Windows 7 training Chicago.
Follow the steps mentioned below to successfully change your computer’s name in Windows 7:
Step 1: To get started, log in to your computer system with administrative rights.
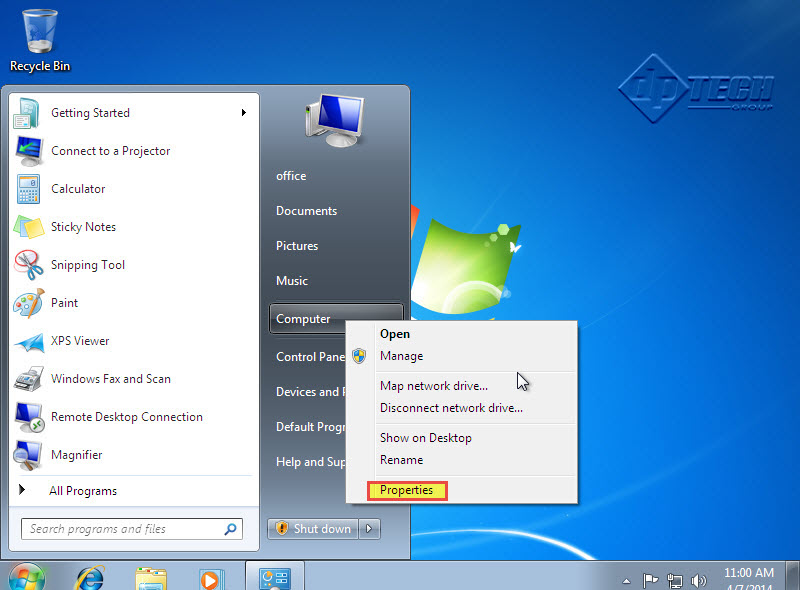
Step 2: Go to the Start Menu and scroll up to the “Computer” tab.
Step 3: Right click on the computer tab and select “Properties” option from the menu that appears. (Check the screenshot below)
Note: You can perform the same procedure on the “Computer” icon present on your Desktop.
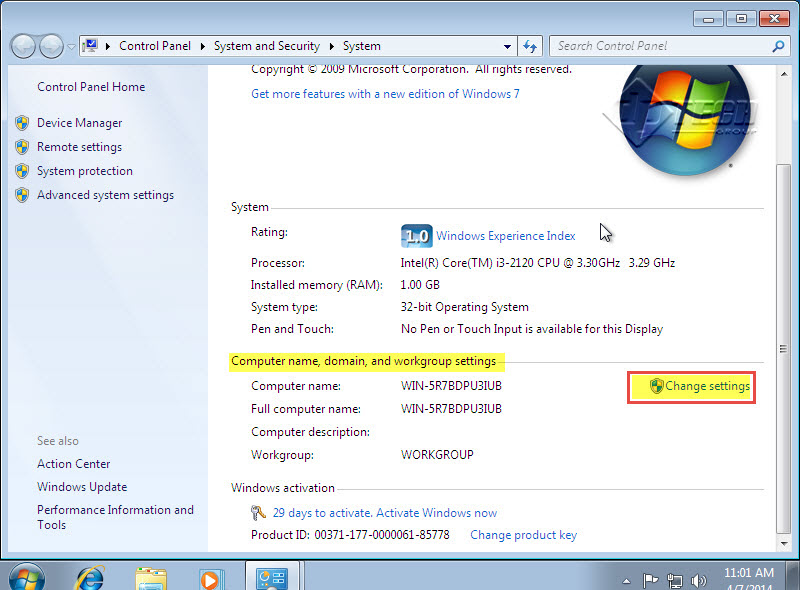
Step 4: Look out for “Computer name, domain, and workgroup settings” on the new window and click on “Change Settings” tab. (Check the screenshot below for windows 7)
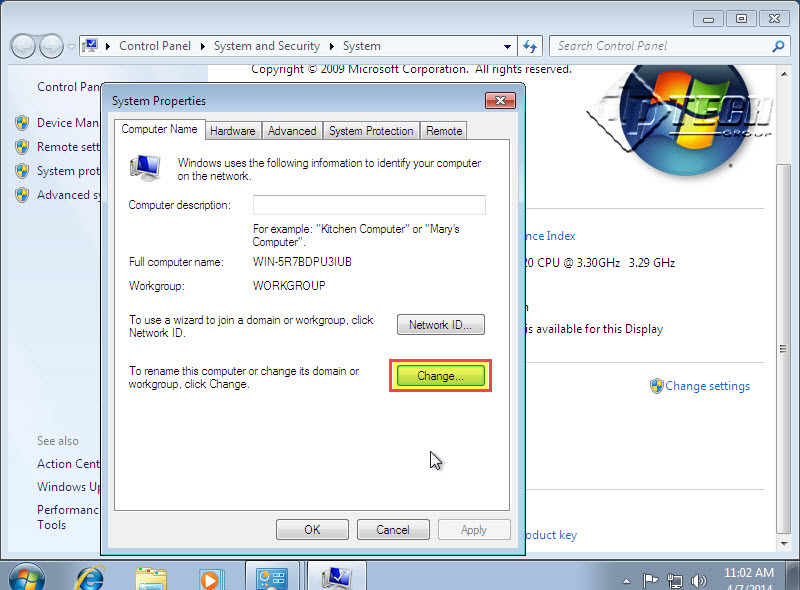
Step 5: A “System Properties” window will open in-front of you. Of the many options available to you, click on “Computer Name” tab. Now it’s time to change the hostname.
Step 6: Feed in your computer description in the space provided in front of “Computer Description” input field. Click on “OK” button to save the changes made. (Check the screenshot below)
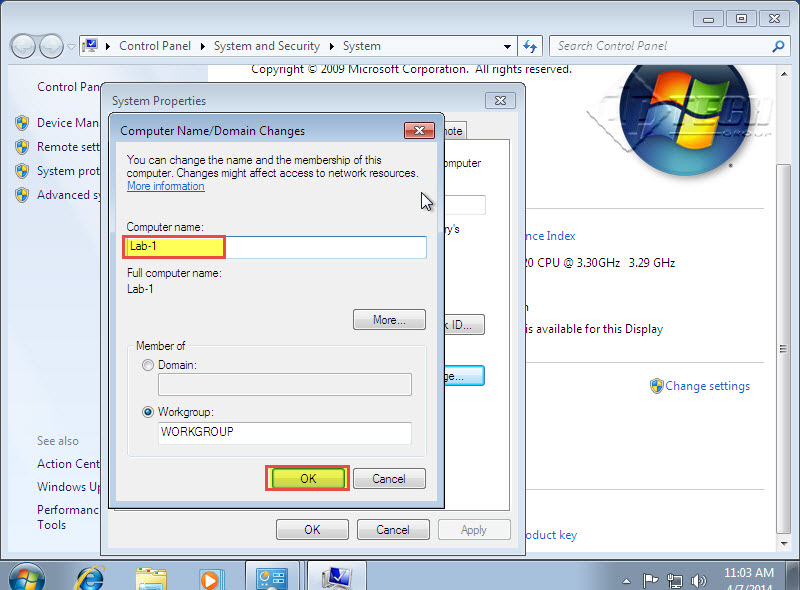
Step 7: Computer Name/Domain change window will now display the existing name of your computer. Delete the old name and type in your new computer name.
Step 8: As soon as you finish entering the new name, click “OK” to set the new name for your computer. (Check the screenshot below)
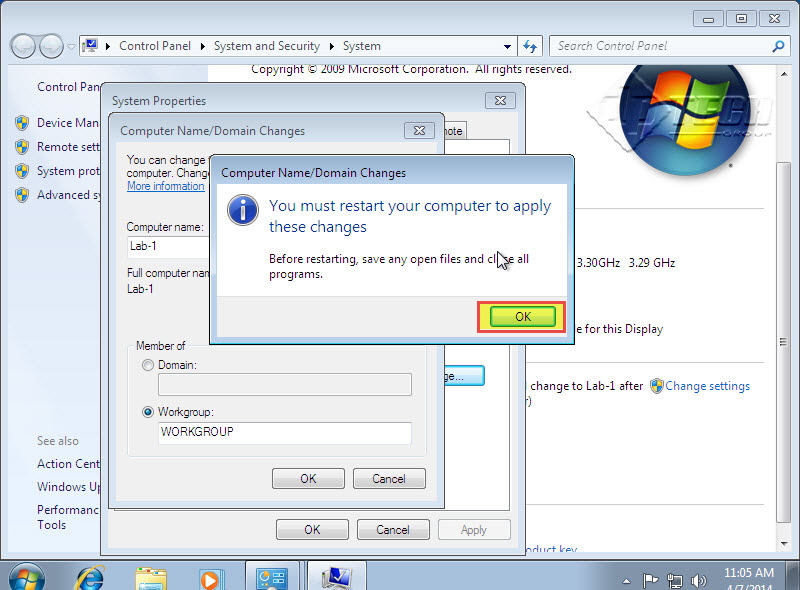
Step 9: As soon as you hit “OK”, a dialogue box displaying “You must restart your computer to apply these changes” will appear. Click “OK”. (Check the screenshot below)
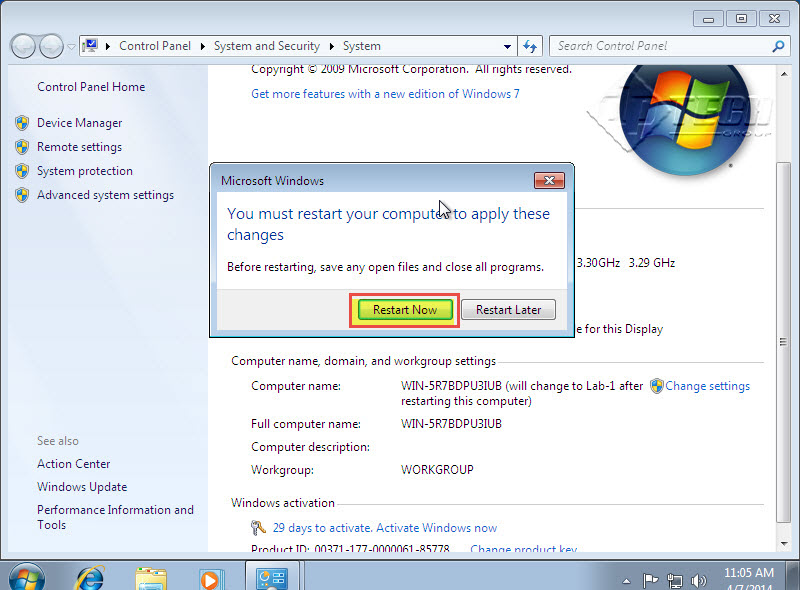
Step 10: Your computer restart (almost) immediately. But make sure that before restarting your system, you save and close everything that you had opened earlier.
Step 11: In case you wish to restart your computer later, click on “Restart Later” tab. (Check the screenshot below)
Congratulations, you have successfully changed your computer name in Windows 7!
If you’re having a hard time following the instructions listed out above or aren’t sure of why you are not able to change hostname, please drop a comment below.
We are here to help. You just have to ask! Are you interested in instructor-led classroom training for Windows 7 or other Microsoft products? Give us a call at 630-372-0100.