


How to install Active Directory Domain Service on Server 2012 (AD DS)
Developed by Microsoft, Active Directory Service is used to create a Domain network. You can use Microsoft Active Directory Domain Services to work with your internal network by enforcing the desired security settings or the principals.
It also allows you to manage your internal network from a centralized location, as well as share folders, users, network printers, groups, sites, computers, and Organization Unit (OU). It’s not difficult to install Active Directory Domain Service on Windows Server 2012 if you follow the standard instructions.
Requirements for AD DS Instllation
- User name and password with Admin rights
- IP Address
- Server based Operating System
- Domain Controller’s Name
Here is a step by-step guide for AD DS installation on Windows Server 2012:
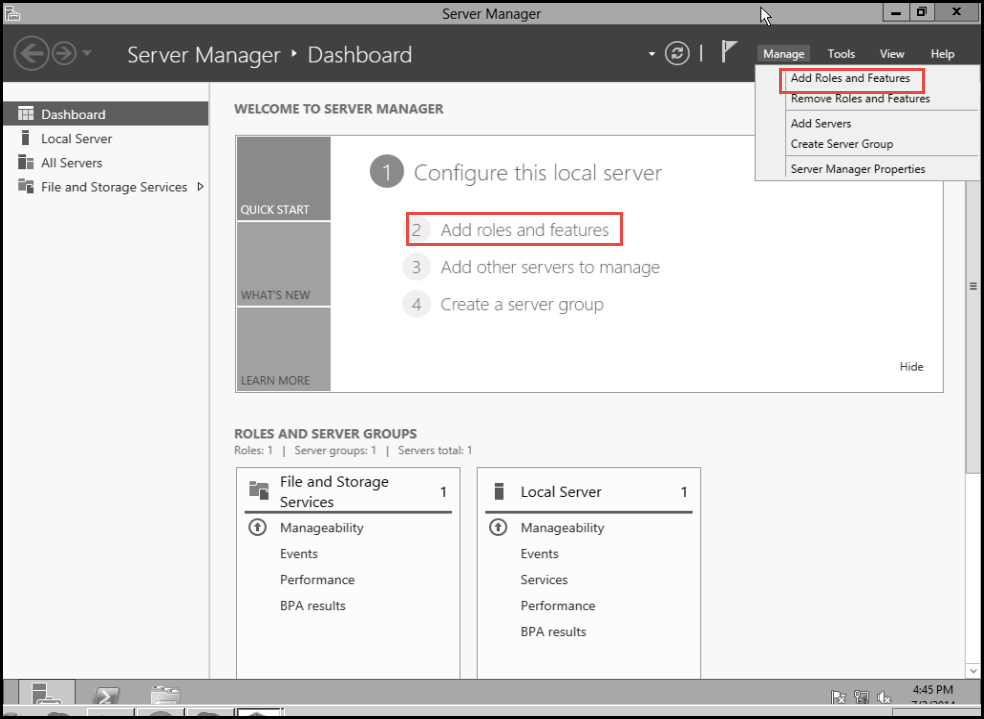
Step 1: Open the “Server Manager.” (Check the screenshot below)

Step 2: Choose the “Add Roles And Features” option. (Check the creenshot below)
Step 3: Select the “Before You Begin” option and click on the “Next” tab. (Check the screenshot below)

Step 4: Select the “Installation Type” option and next, select the “Role Based or Feature Based Installation” option. Click on the “Next” button to continue. (Check the screenshot below)

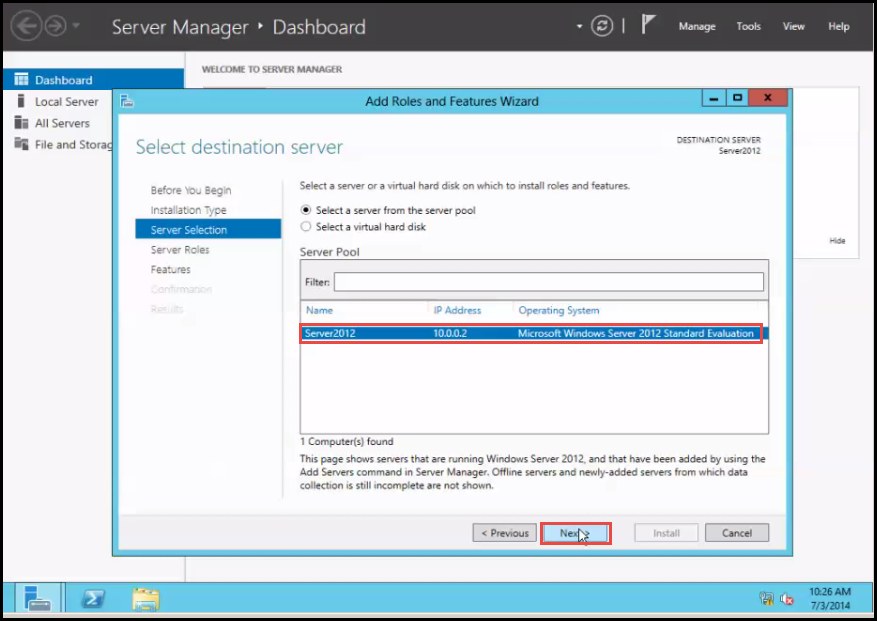
Step 5: Select your server and click on the “Next” button. (Check the screenshot below)
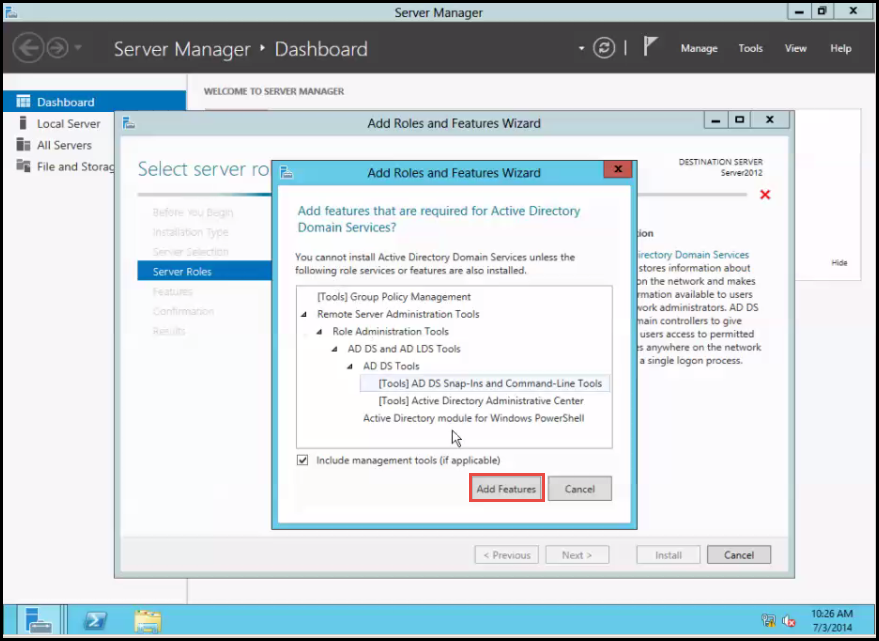
Step 6: Select “Active Directory Domain Service” to open a new pop-up screen. Click on the “Add Features” option to add some additional features for AD DS on Server 2012. (Check the screenshot below)
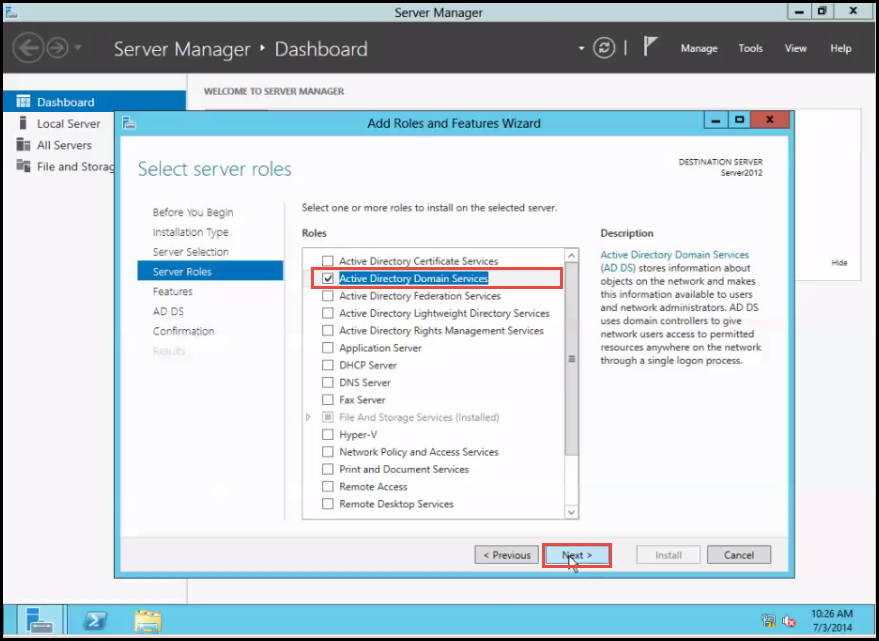
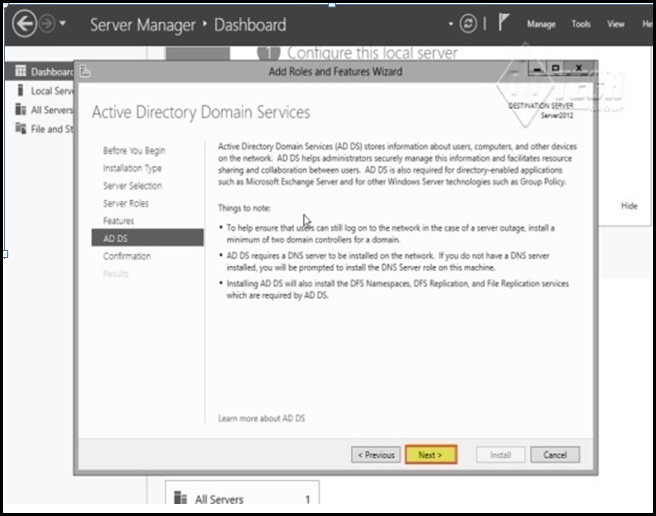
Step 7: Select the “Active Directory Domain Services” option that you want to install in Win Server and click on the “next” button to continue. (Check the screenshot below)
Step 8: Click on the “Next” button again. (Check the screenshot below)
Click on “Next”
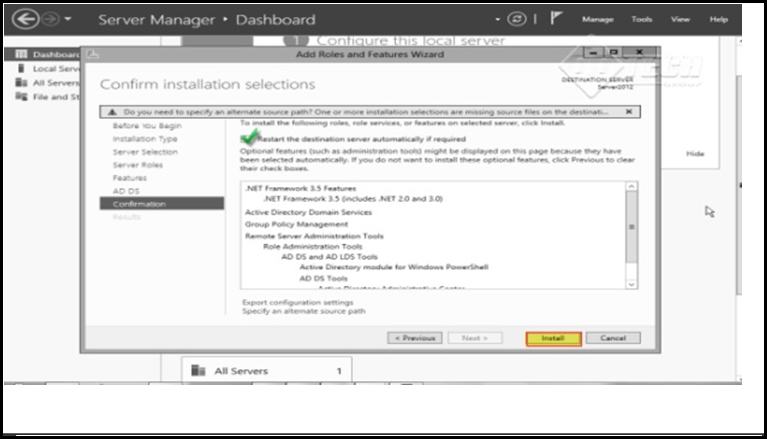
Step 9: Check the box showing the “Restart Destination Server Automatically If Required” option and click on the “Install” button to begin installation. (Check the screenshot below)
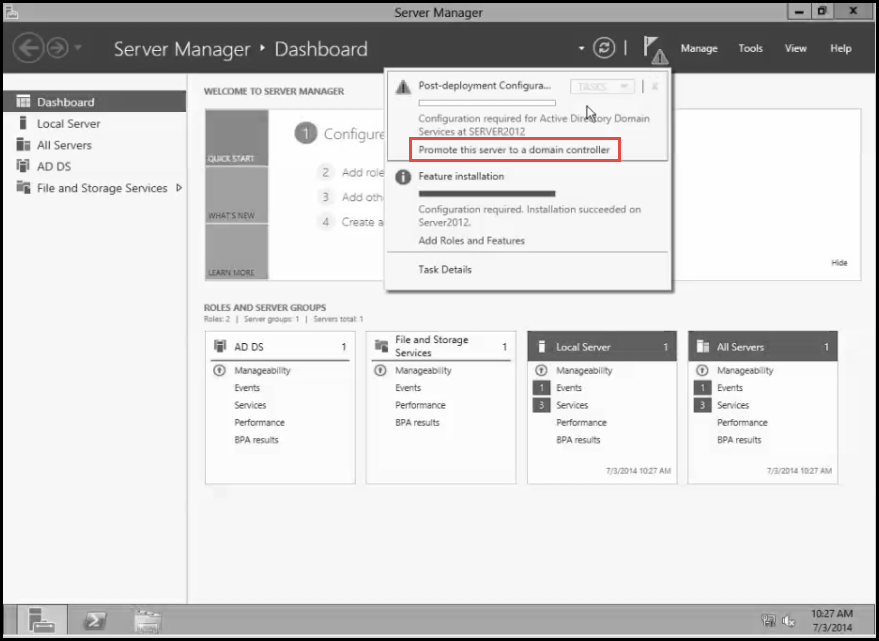
Step 10: The installation process will complete after the reboot. Now, select the “Flag” icon and click on the “Promote This Server To Domain Controller” option. (Check the screenshot below)
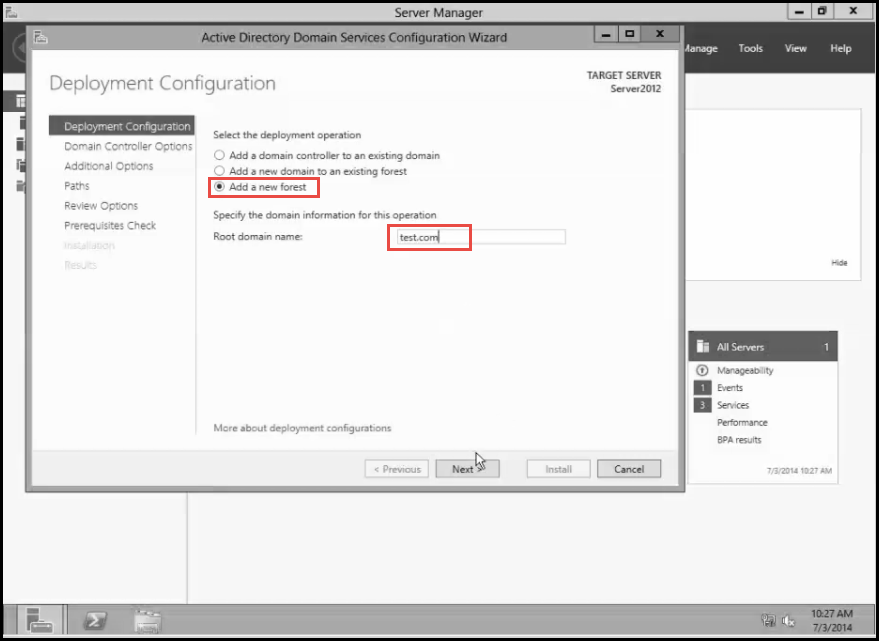
Step 11: Select the “Add A New Forest” option and provide “Test.com” as the “Root Domain Name.” Click on the “Next” button to continue. (Check the screenshot below)
Step 12: Select “Function Level” for Forest and Domain depending upon your organizational environment.
Although you can raise the function level even after installation, remember that you can raise it only ONCE.
Also, you can scroll the level as low to high, but not high to low.
Step 13: You can enter Directory Service restore Mode (DSRM) and Password to restore the AD DS database in the event of failure. This is a good recovery option that you should use wihle installing active directory service.
Step 14: Click on the “Next” button. (Check the screenshot below)
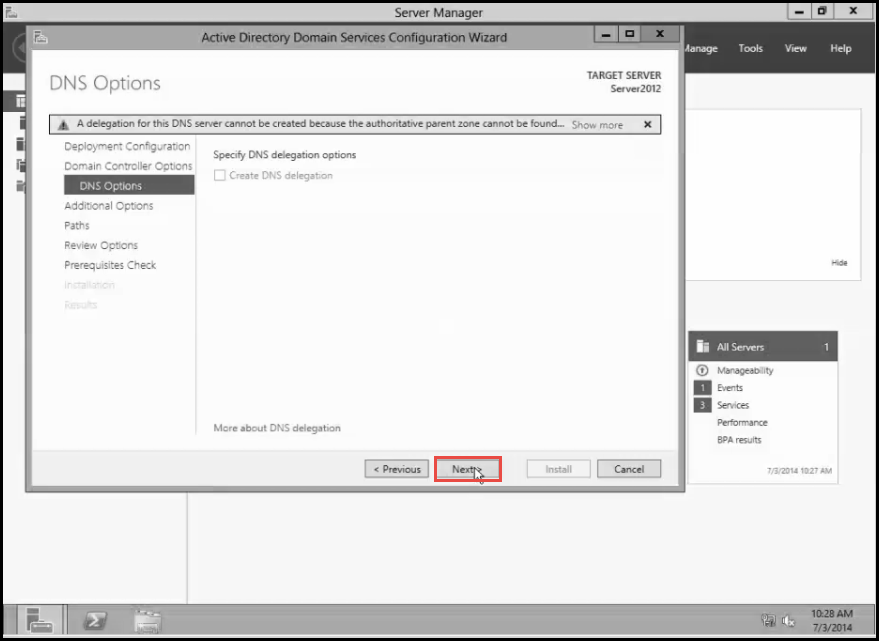
Step 15: Click on the “Next” button again. (Check the screenshot below)
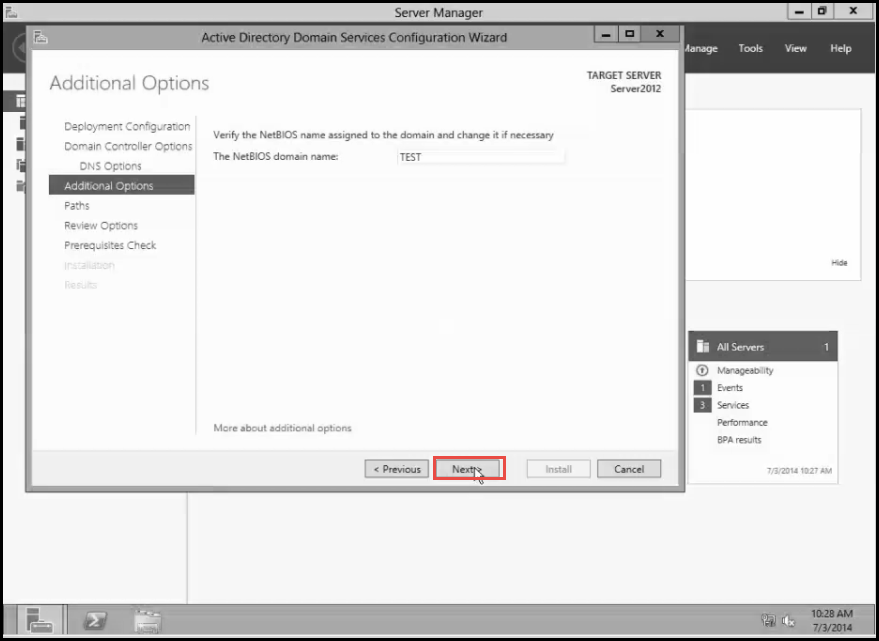
Step 16: Enter Net BIOS Domain name and click on the “Next” button. (Check the screenshot below)
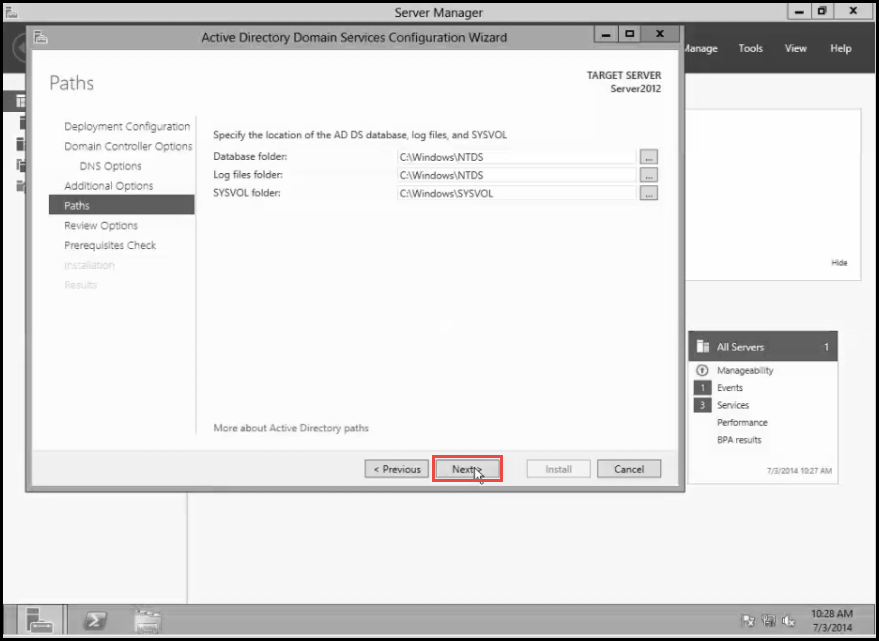
Step 17: By default, AD DS database destination is “C:\windows\NTDS, SYSVOL”, but you can also choose a location of your choice.
Click on the “Next” button. (Check the screenshot below)
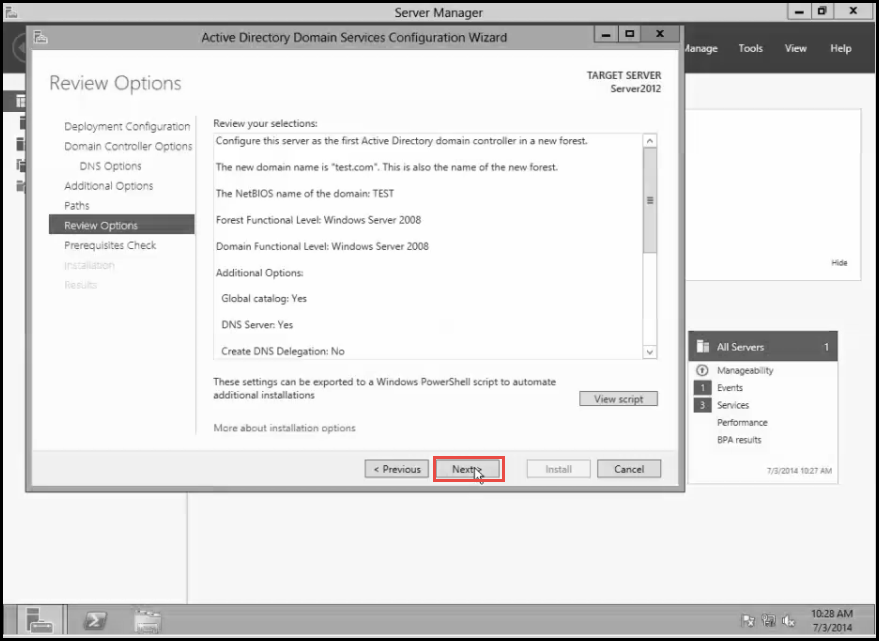
Step 18: Select the “Review” option in the left panel and click on the “Next” button to proceed. (Check the screenshot below)
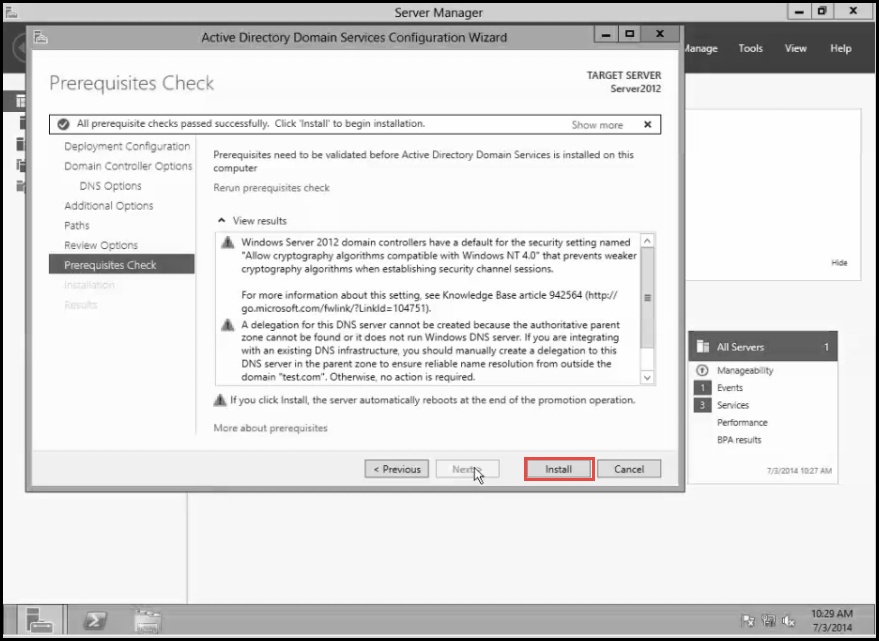
Step 19: Check all prerequisite checks passed successfully and click on the “Install” button. (Check the screenshot below)
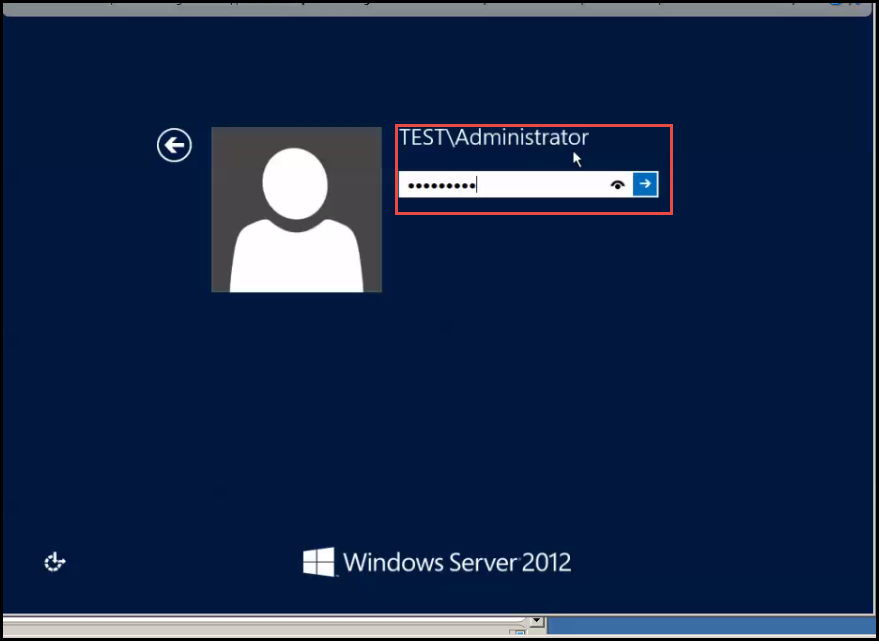
Step 20: On rebooting, the server will promote itself as a Domain Controller.
Enter your administrator password. (Check the screenshot below)
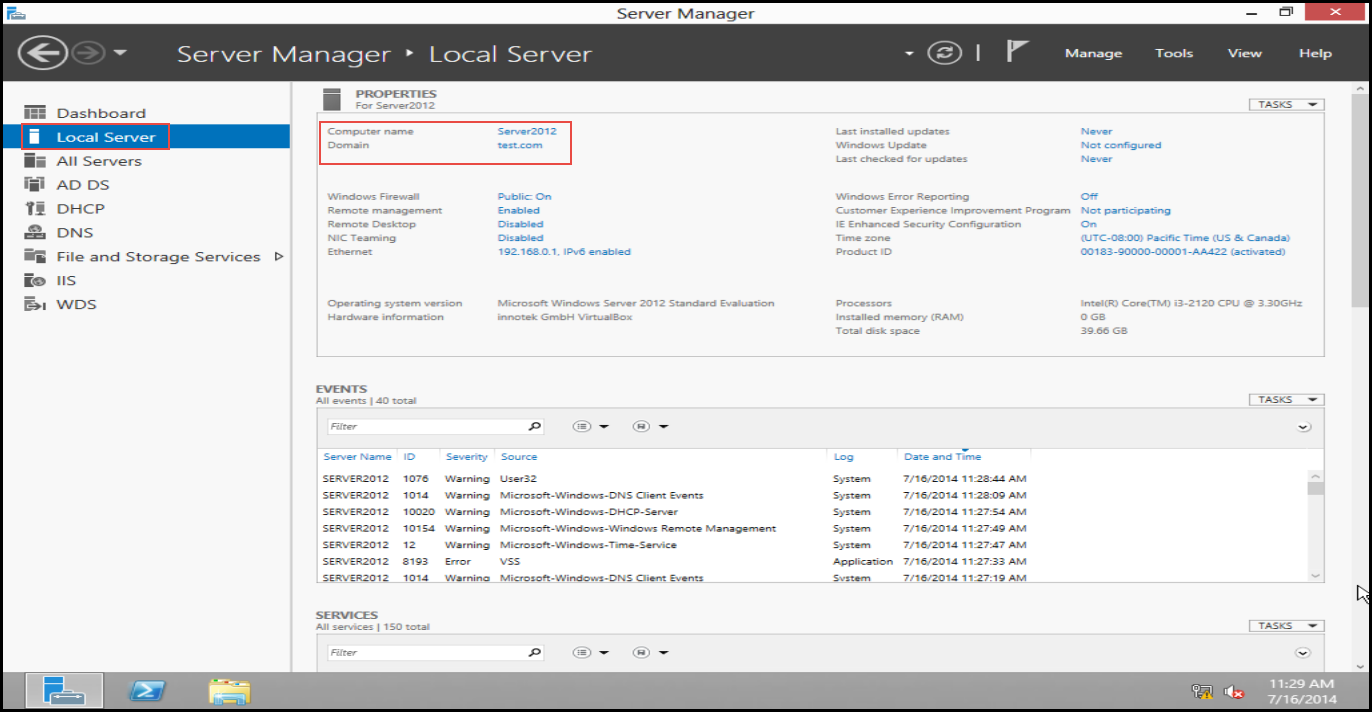
Step 21: Here, you can see that your server has been successfully promoted as a Domain Controller. (Check the screenshot below)
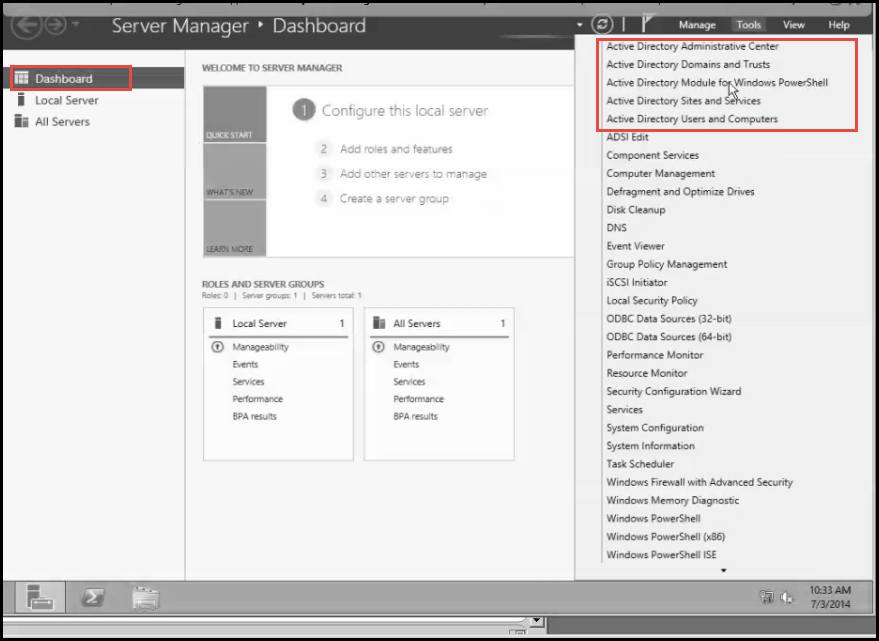
Step 22: You can access all AD DS services available in Server 2012 under the “Tool” option. (Check the screenshot below)
Local Server:
Need help?
The above step by step guide should no doubt help you to easily install Active Directory Domain Service on Windows Server 2012 but in case you are stuck somewhere (no matter the reason), feel free to ask for help!
Drop your questions below. We will follow up with nearest possible solutions/answers.